Skill Guide
Turn a Tabletop Flat Lay Into a Naive Flat Illustration With Blue Naive Tableau
This step-by-step walkthrough shows exactly what the Blue Naive Tableau generative transformation preserves, what it replaces, and how to adjust your source photo to get a result that matches your intended layout.
At a Glance
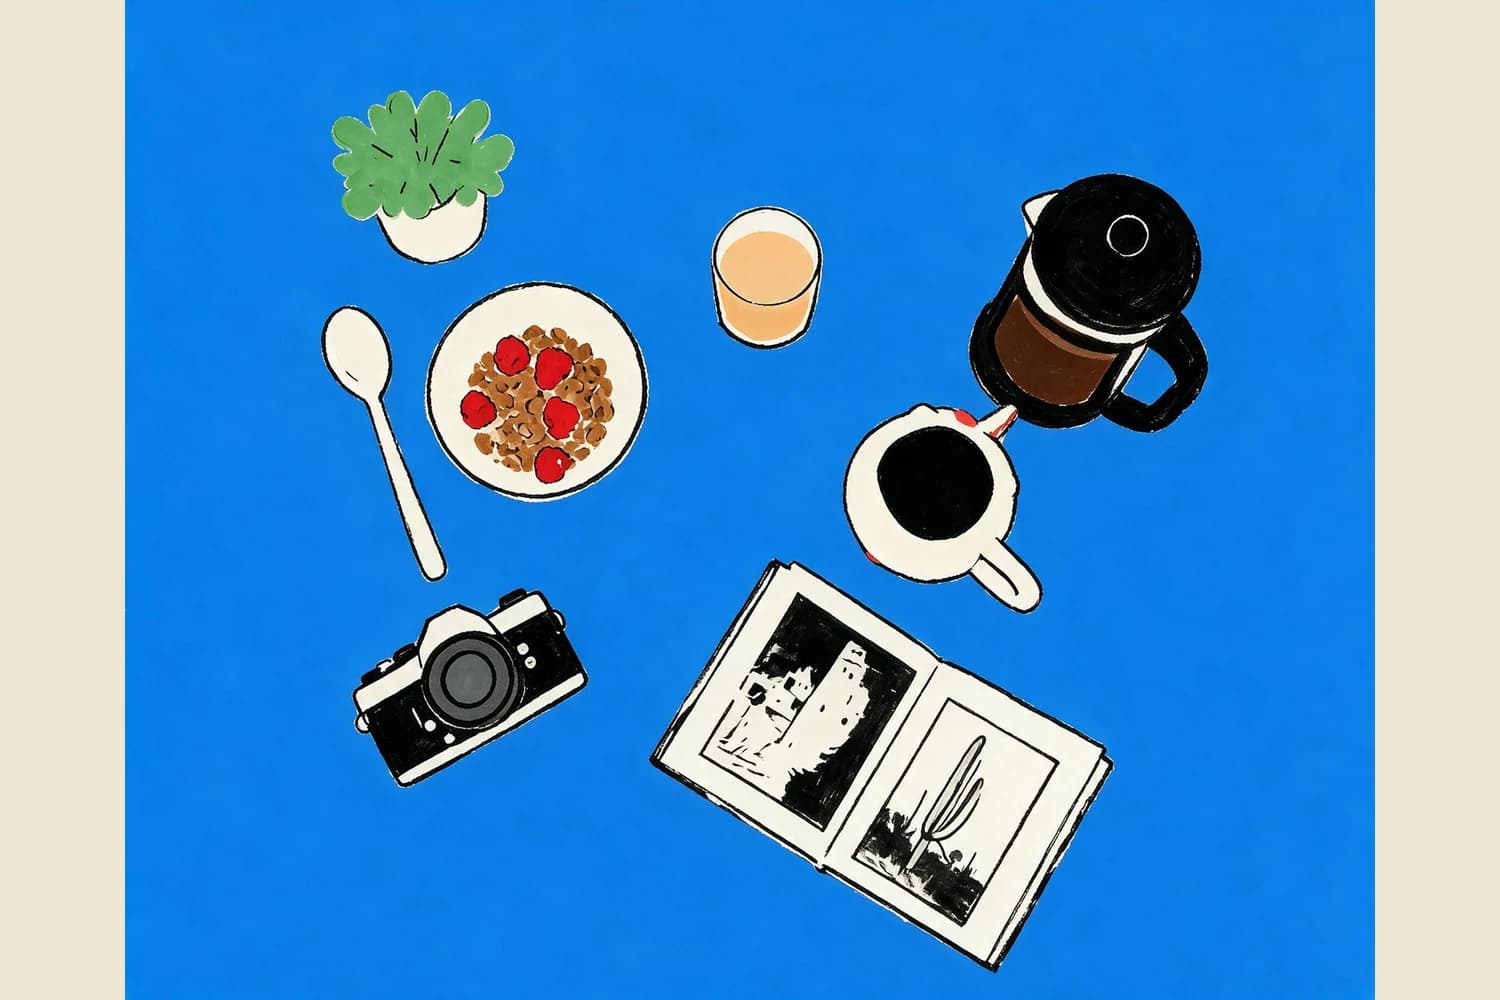
Blue Naive Tableau transforms your tabletop photo into a naive flat illustration that keeps your original object count and broad layout, replacing textures and shadows with saturated flat color, though the output is a raster file, not editable vector paths.
Real Before-and-After Evidence
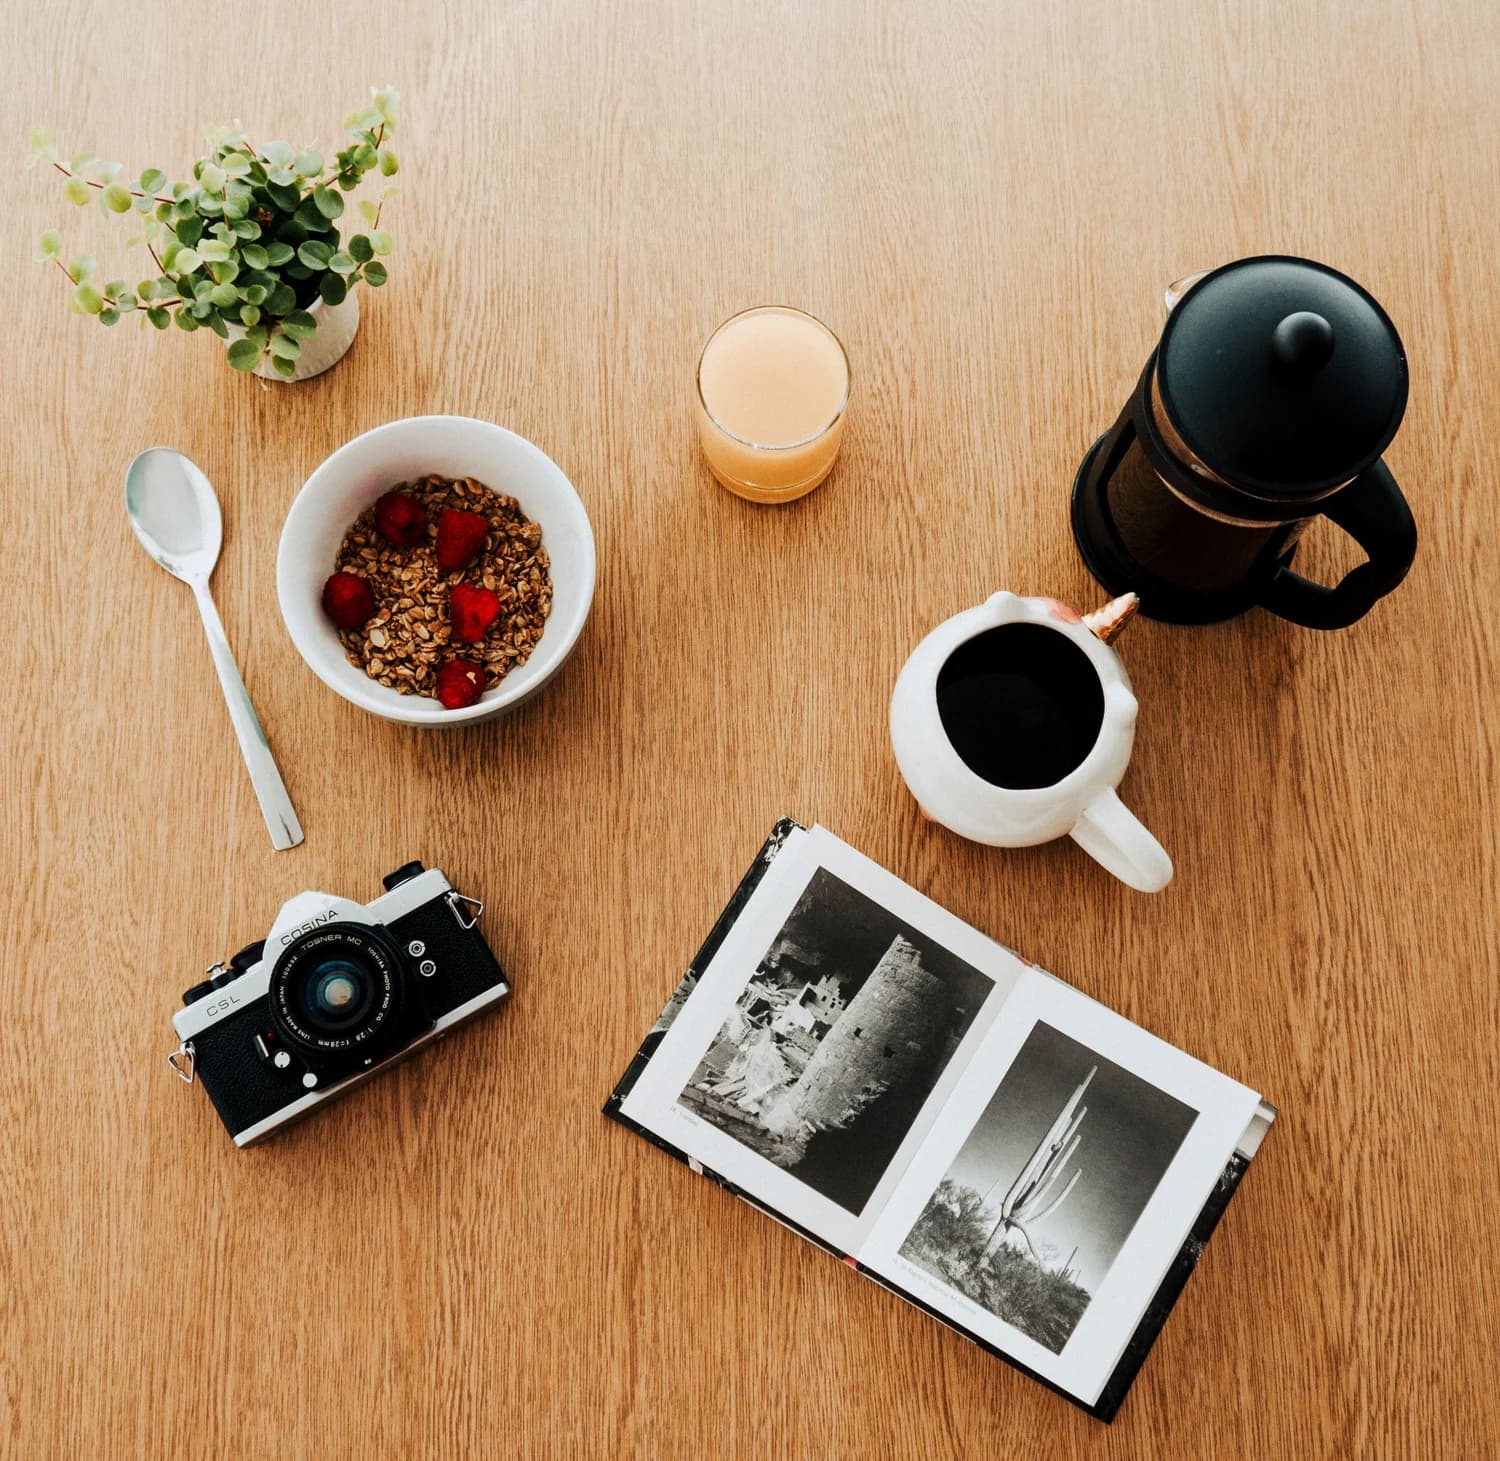
The curated source flat lay contains eight distinct objects: a plant, spoon, cereal bowl, juice glass, coffee press, coffee cup, camera, and open book, each placed in a unique position across the wooden table surface. The published result retains all eight major object groups and their original broad left-to-right spatial relationships, but fully removes the wood grain, glass reflections, and soft cast shadows. Instead, the transformation renders the entire background as a uniform saturated blue field, draws each object with rough, hand-drawn black contours, and fills every shape with simplified, solid color. Critically, this illustrated output is a stylized raster image, not an editable collection of vector paths you can click apart and adjust individually.
Step-by-Step Workflow
- 01
Select and prep your tabletop source photo
Pick a flat lay or tabletop shot where all key objects are fully visible and not cropped by the frame. For best results, arrange your items so no single object is almost entirely hidden behind another, because the Skill relies on clear visual cues to identify each group. You do not need to edit out minor dust specks or small background marks beforehand, as the transformation will replace fine surface detail with flat color anyway. Use the public Blue Naive Tableau skill path at /skills/blue-naive-tableau to load the pre-configured method directly into Imagild Studio.
- 02
Run the generative transformation and review the initial output
Once your source image is uploaded, start the Skill and wait for the raster result to generate. When the result loads, compare it with your original photo to confirm every major object you wanted to keep is still present and positioned roughly where you placed it. If one small item is missing or merged with a neighboring shape, you can re-run the Skill with the same source photo to compare another variation.
- 03
Save your final file and confirm it meets your use case
When you get an output that matches your layout goals, save it to your Imagild Library before navigating away. Remember this is a stylized raster image, not an editable vector, so you will not be able to separate individual shapes to adjust colors or move objects later inside the platform. If you need editable vector artwork after generating your flat illustration, you can export the raster file and follow the Adobe Illustrator Concept to Vector documentation linked in the traceable sources to run a separate vector conversion step in Illustrator.
Key Pre-Use Decisions
- Choose exactly which objects to preserve in your source layout
- Before you upload, decide if you want every small trinket on your table to appear in the final illustration, or if you should remove clutter that could get merged into a neighboring shape. The Skill prioritizes prominent, clearly separated objects, so tiny items that sit very close to larger ones may be absorbed into the adjacent shape rather than rendered as a distinct element. If you want a specific small object to stay distinct, move it at least a small distance away from other items before you take your source photo.
- Accept that fine surface details and realistic lighting will be replaced
- Blue Naive Tableau is designed to strip away photorealistic elements intentionally, so do not expect wood texture, glass reflections, soft gradients, or subtle shadows to carry through to the final result. The transformation replaces those details with a uniform saturated blue background, rough hand-drawn outlines, and flat solid fills to match the naive illustration style. If you keep a strong patterned tablecloth or a bright accent wall in your source frame, the Skill may pull that dominant color into the background field instead of the intended saturated blue, so test one version first to confirm the background tone is what you expected.
- Verify object count and layout before you export for final use
- Since this is a generative transformation and not a deterministic filter, it is possible for two nearby overlapping objects to be grouped together as one combined shape, or for a very thin object like a spoon to be simplified beyond recognition. Always count the major objects in your output against your original source photo before you share or publish the illustration. If you need fully editable, separate vector paths for every shape, plan to run a separate vector conversion step in a tool like Adobe Illustrator after you export the raster result, as the Imagild Skill does not output native vector files directly.
Official sources checked
Frequently Asked Questions
Can I use Blue Naive Tableau to turn any photo, not just a tabletop flat lay, into this naive illustration style?
The Skill is calibrated specifically for tabletop flat lay arrangements where objects sit on a relatively flat surface with clear separation between items. You can test other photo types, but shots with complex overlapping figures, dense foliage, or distant landscape elements are far more likely to merge shapes, lose key details, or produce a layout that does not match your original intent. For best reliability, stick to source images that match the curated use case the Skill was built for.
Why is my output a raster file instead of an editable vector I can adjust in Imagild?
Blue Naive Tableau is a style-focused generative transformation that prioritizes preserving your original object layout and applying the naive flat art aesthetic, not generating structured vector paths. The published first-party results are all raster images with simplified fills and rough contours, so you will not be able to click and move individual shapes or edit outlines directly in your browser. If you need editable vector artwork, export your finished raster illustration and use Adobe Illustrator's generative vector tools to convert it separately, as outlined in the official Illustrator documentation.
What should I do if one of my objects disappears or gets merged with another in the final illustration?
First, re-run the Skill with the exact same source photo to generate a new variation, as generative transformations do not produce identical results every time. If the issue persists, edit your original photo to move the two overlapping or adjacent objects further apart, crop out any extra clutter near the missing item, and re-upload the adjusted source. You can also slightly increase the empty negative space around the full set of objects before running the Skill to give the model more room to identify each distinct group clearly.