Skill Guide
How to Turn an Interior Photo Into a Restrained Vintage Travel-Log Page
This step-by-step walkthrough uses a real before-and-after pair to show how the Vintage Travel Log Page Skill preserves your room's quiet character by retaining only a small set of source-derived objects, rendered in a soft screenprint-inspired style on ivory paper.
Quick Answer
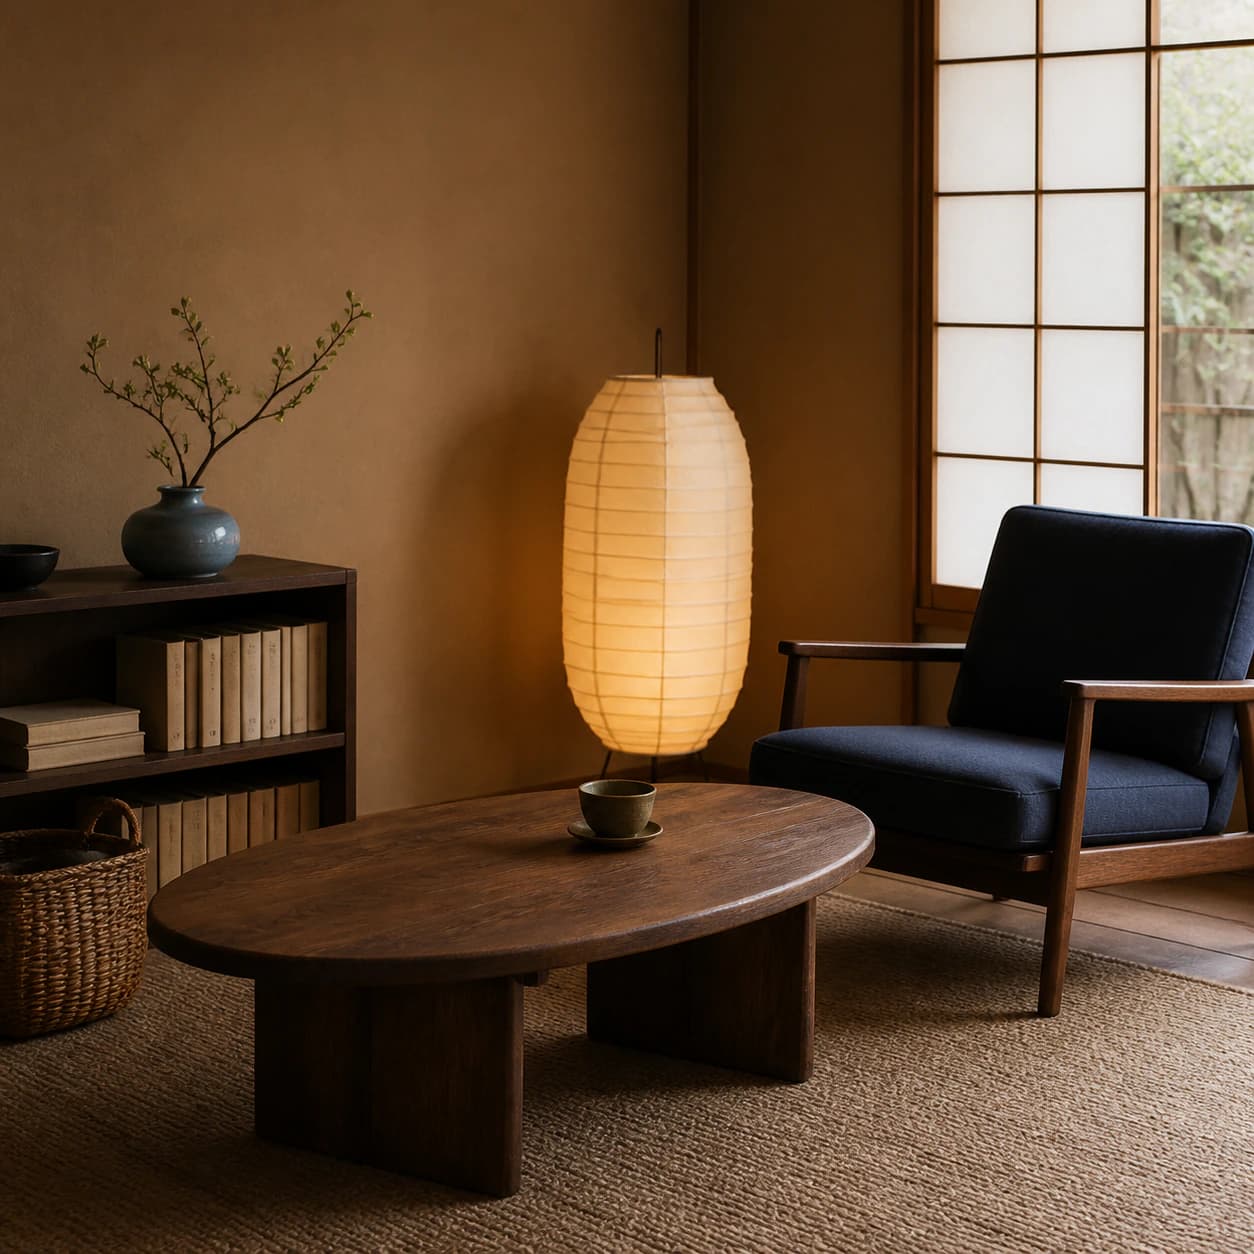
Upload your interior photo to the Vintage Travel Log Page Skill, run the transformation, and review the output to confirm your key objects stay in place before saving the finished travel-log page to your library. In the reviewed before-and-after pair, the warm interior source contains a tall bookcase, vase with a long branch, paper lamp, dark blue chair, round wooden table with a cup, and woven basket arranged as a quiet reading corner.
Real Before-and-After Proof
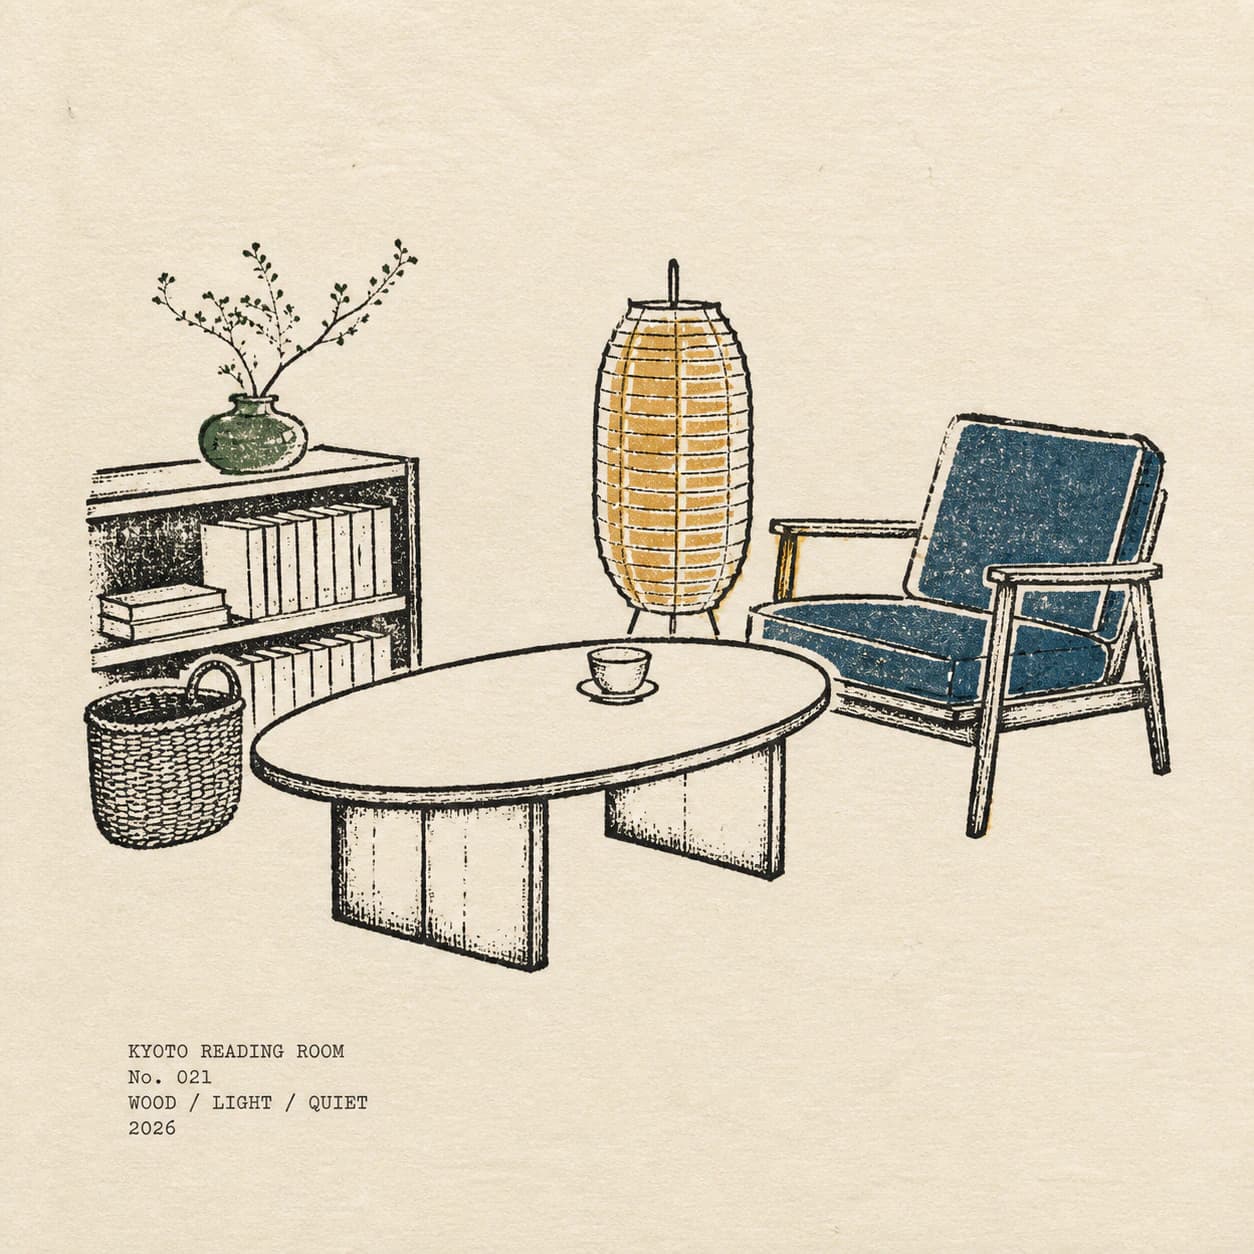
The warm interior source photo shows a quiet reading corner with a tall bookcase, vase holding a long branch, paper lamp, dark blue chair, round wooden table with a cup, and a woven basket. The reviewed square result removes most of the original room structure and surrounding clutter, but keeps all six of those core objects in their approximate original positions and relative layout order. The result uses charcoal line work with flat, solid color fields of ochre, terracotta, olive, and indigo on an ivory paper background, matching the flat color definition of a screenprint from MoMA’s official collection entry. This output is a single raster image, not a set of separated screen layers, registration proofs, or a layered production file. The text elements reading KYOTO READING ROOM, No. 021, the English keywords, and 2026 are layout additions that do not appear in the original source photo.
Step-by-Step Workflow
- 01
Open the Published Skill and Upload Your Source Photo
Navigate directly to the Vintage Travel Log Page Skill at /skills/vintage-travel-log-page, then upload the interior photograph you want to transform. This Skill is designed for photos that feature a small, distinct set of physical objects in a quiet arrangement, such as a reading nook, a kitchen counter, or a small entryway display. You do not need to adjust any extra settings before running the transformation, and you can use any standard photo you have already saved to your device.
- 02
Run the Generative Transformation and Compare Output to Source
Start the Skill and wait for the single generated raster result to load. Once it appears, place the output side by side with your original photo to check that the key objects you wanted to keep are still present and positioned roughly where they were in the source. The Skill will remove most wall structure and unrelated clutter automatically, but you should confirm no important items you intended to keep have been omitted from the final layout.
- 03
Review All Layout Text and Save Your Accepted Result
Carefully read every piece of text that appears on the generated travel-log page, including any location labels, numbering, dates, or descriptive keywords. All of these text elements are generated as part of the layout and are not pulled directly from your original photo, so you will need to verify that the wording matches what you want to record for that space. If you are happy with the composition, save the final image to your signed-in Imagild Library to access it later.
Key Pre-Use Decisions
- Choose Which Core Objects You Want the Page to Preserve
- Before you upload your photo, decide which 4 to 7 distinct, meaningful objects define the character of the space you are documenting. For a reading corner, this might be a bookshelf, a favorite vase, a specific lamp, and a well-loved chair. The Skill works best when you intentionally limit your source photo to that small set of items, rather than including dozens of extra decorative pieces that could get omitted or muddled in the final flat-color layout.
- Decide What Elements You Are Comfortable Seeing Changed
- Understand that the Skill will not retain fine photographic detail, realistic lighting, or exact wall textures. It replaces full photographic rendering with charcoal line work and flat, solid color fields, and it removes most architectural room structure entirely. If you need to keep a specific wall color, a detailed rug pattern, or a precise shadow shape, this transformation is not the right tool for that goal, and you should use the photo workbench's manual adjustment tools instead.
- Plan to Verify All Generated Text Before You Export
- Since every text element on the final page is generated as part of the layout rather than pulled from your source photo, you should decide in advance what location name, identifier number, date, and short descriptive phrase you want to use for your log entry. If the generated text does not match your intended wording, you can use the photo workbench's crop and adjustment tools to frame the page around the objects and add your own handwritten or typed text later, rather than relying on the generated copy to be perfectly accurate.
Official sources checked
Frequently Asked Questions
Is this output a real screenprint file I can send directly to a print shop for layered screen production?
No. The Vintage Travel Log Page Skill produces a single raster image that simulates the flat-color, hand-printed look of a screenprint, as defined by MoMA’s official screenprint reference. It does not export separated color layers, registration marks, or individual screen files that a print shop would use to run a physical screenprint run. If you need a layered production file, you will need to recreate the color separations manually in separate editing software after exporting the final raster from Imagild.
What should I do if one of my key objects is missing from the generated result?
If a core object you wanted to preserve does not appear in the output, return to your original source photo and make a new version that frames that object more clearly, with fewer distracting items around it. Re-upload the adjusted photo to the Skill and run the transformation again. If the object still does not appear, you can use the photo workbench's AI object removal tools to clean up the original photo first, removing extra clutter that might be pulling the Skill's focus away from the items you want to keep.
Can I edit my finished travel-log page further inside Imagild after I save it to my library?
Yes, you can open your saved travel-log page in the /editor photo workbench. There you can adjust exposure, contrast, saturation, warmth, or grain to refine the vintage print feel, crop the page to a different aspect ratio, or make small local adjustments to specific color fields. You can then export the final version as a JPEG, PNG, or WebP file at your chosen size and quality level for personal use or sharing.