Negative Space Distill Guide
Turn a Still-Life Photo Into Quiet Paper Art Without Losing Object Arrangement
This walkthrough uses a published before-and-after pair to show how wall and tabletop detail became calm paper fields in one still-life result, plus the object and layout checks to make on your own output.
Quick Answer
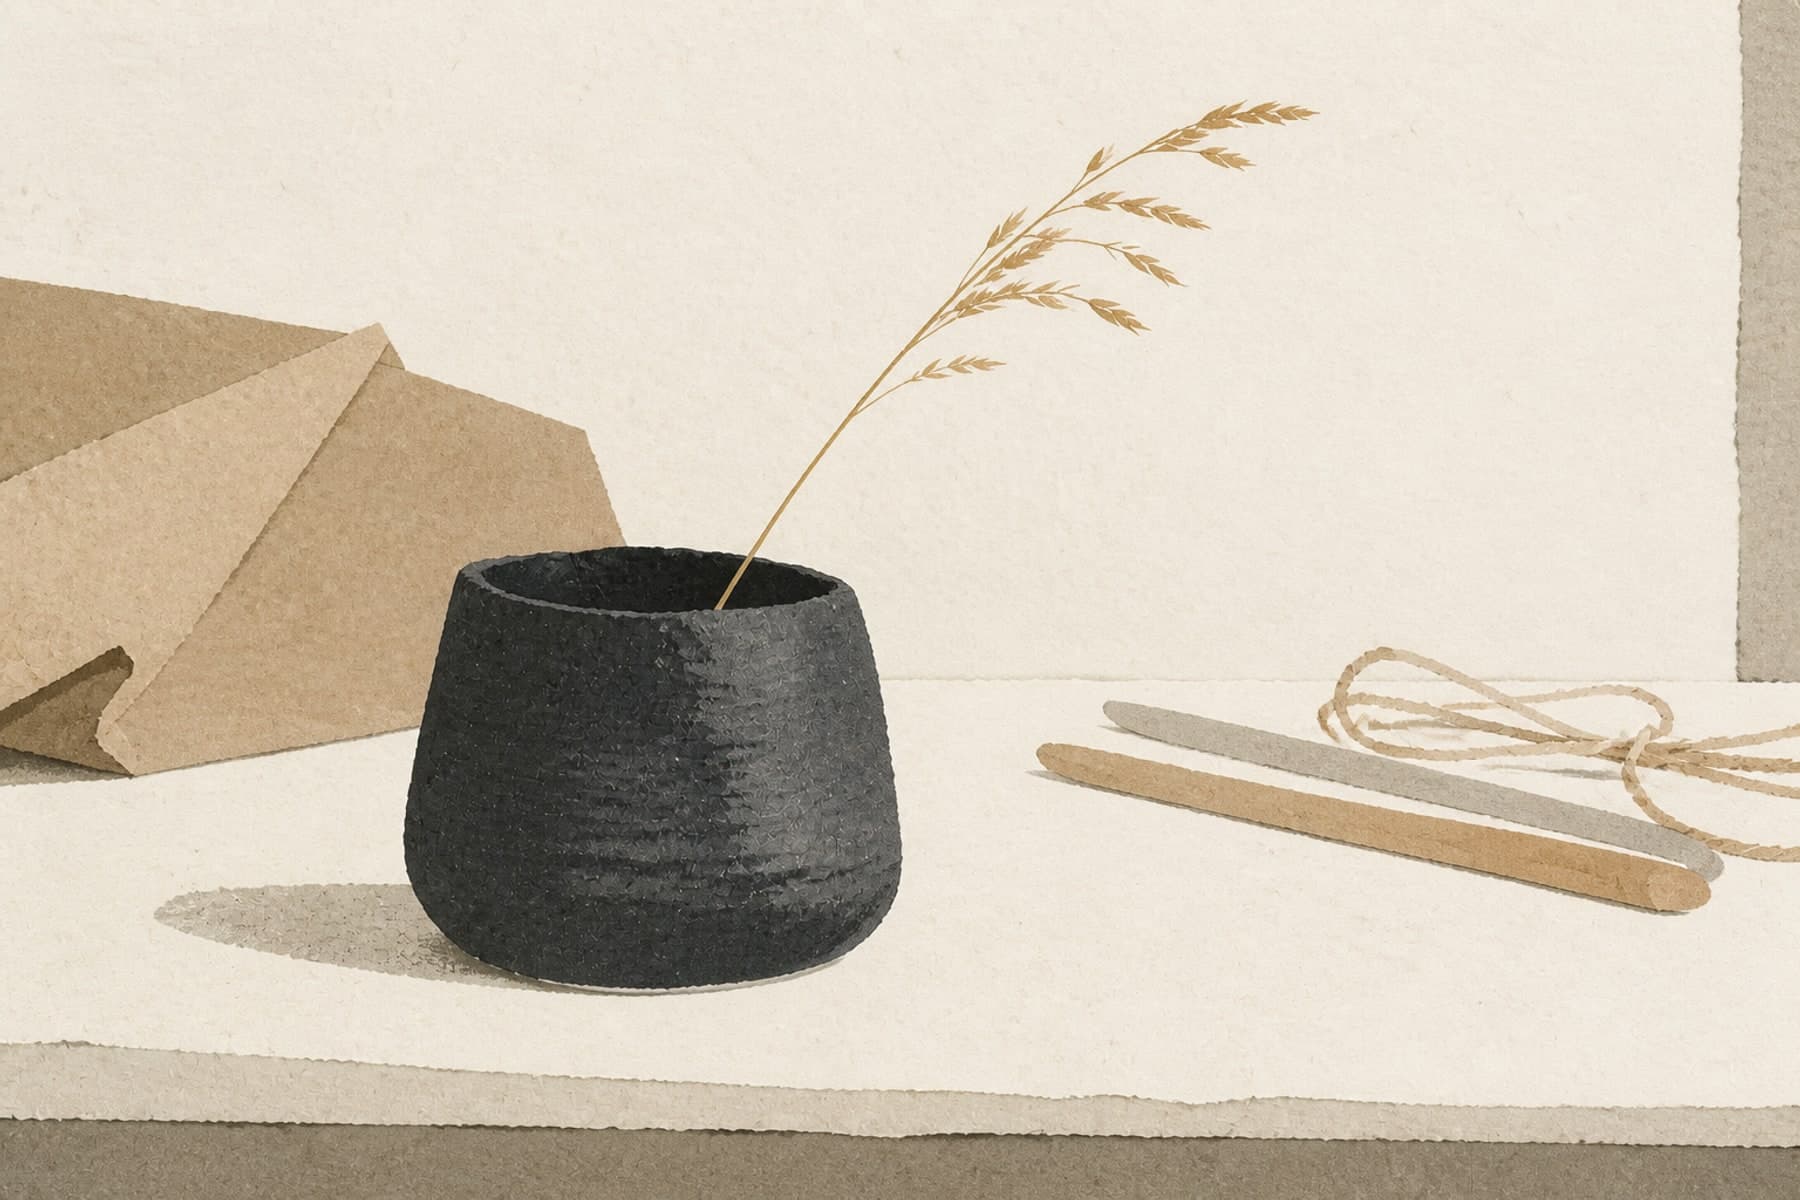
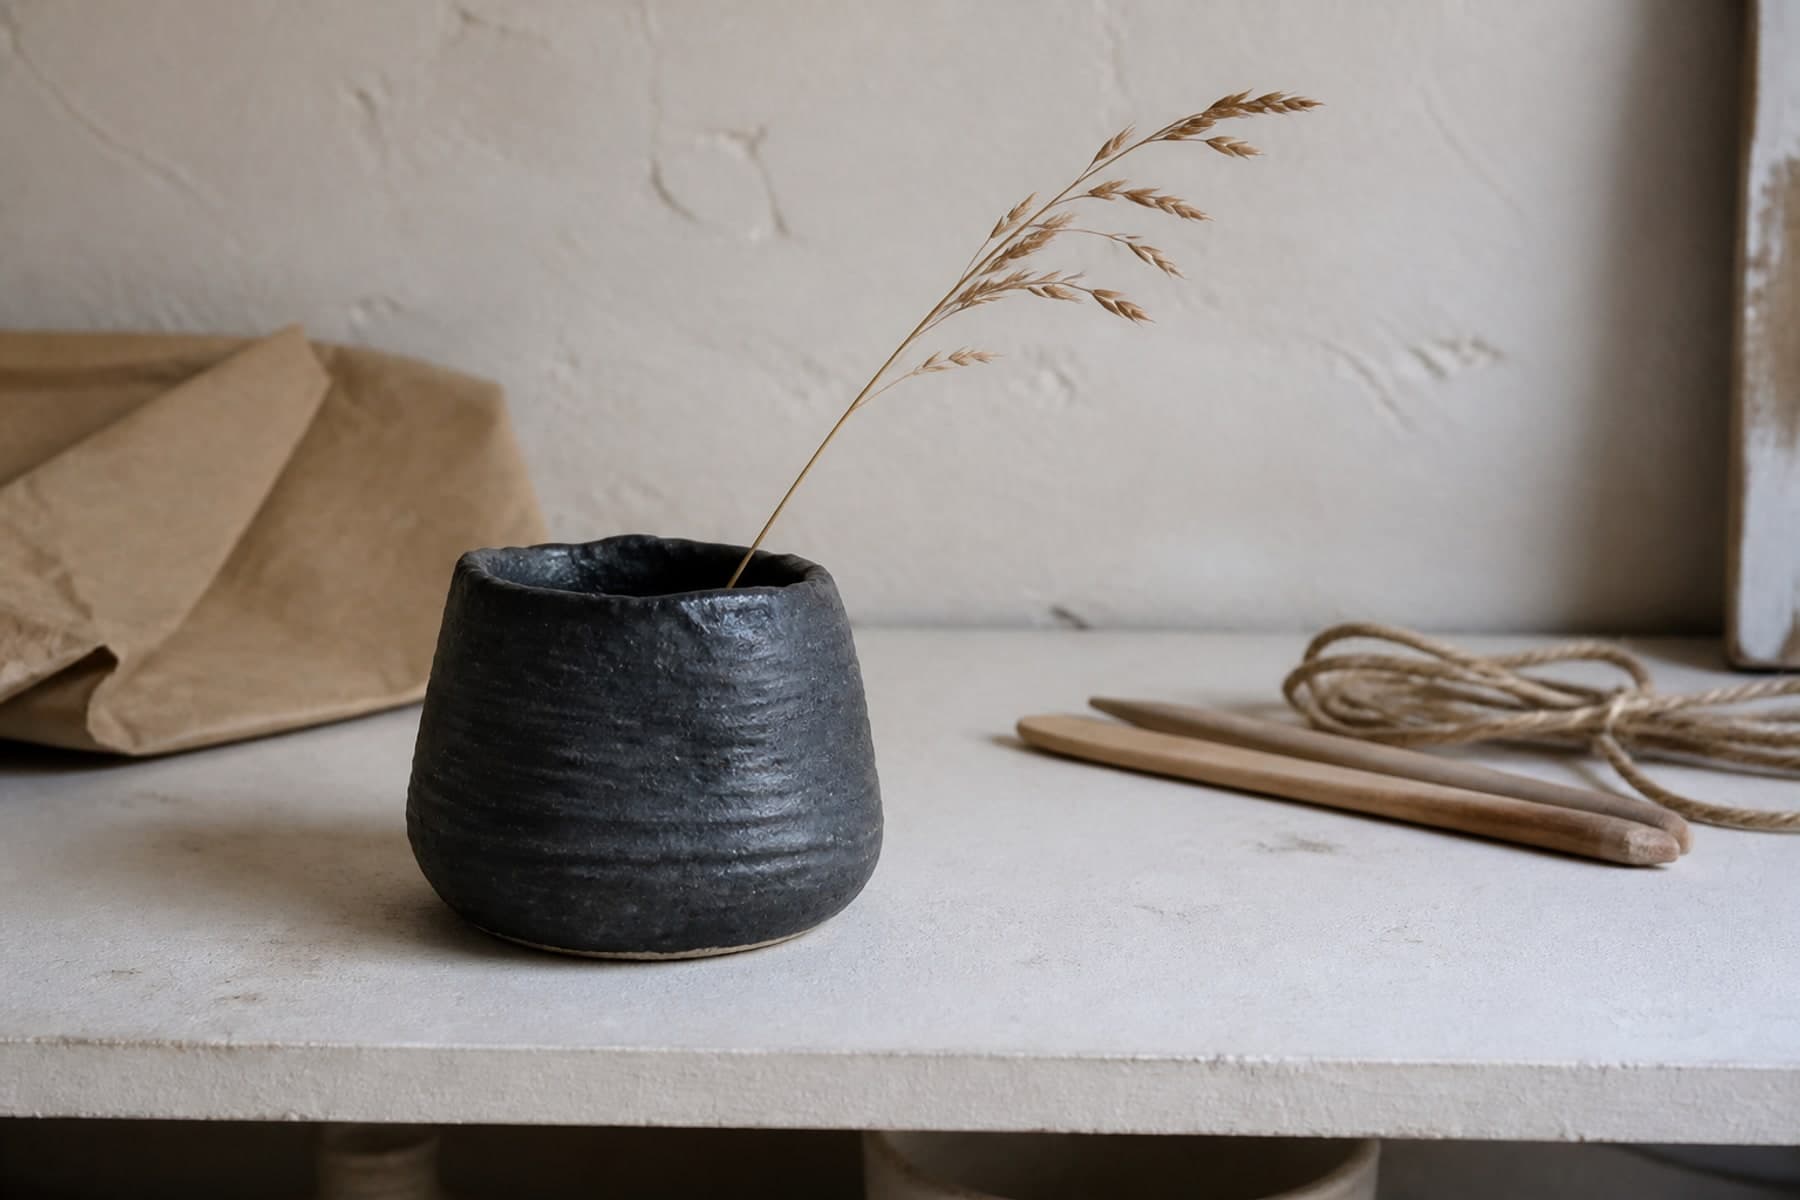
This guide shows how to use Imagild's Negative Space Distill Skill to turn your still-life photo into understated paper art, preserving your original object arrangement while replacing busy surfaces with restrained cream and kraft paper fields. In the reviewed before-and-after pair, the source is a neutral tabletop still life with a black ceramic pot and one dry grass stem near center, folded brown paper at left, and two wooden sticks with twine at right.
Real Before-and-After Sample
The original source is a neutral tabletop still life with a black ceramic pot and one dry grass stem near the center, folded brown paper at the left, and two wooden sticks with twine at the right. The reviewed result keeps the pot, single arcing grass stem, folded-paper mass, two-stick diagonal, twine loop, and their exact left-to-right relationships, while rebuilding the surrounding surfaces with broad cream and kraft paper fields. Original wall texture, photographic depth, and small shadows are reduced, and no title, logo, extra object, or unrelated bright color appears in the final output.
Step-by-Step Workflow
- 01
Open the Negative Space Distill Skill
Open the public Negative Space Distill Skill at /skills/negative-space-distill and compare its published still-life source/result pair. List the objects and spatial relationships that matter to you before supplying your own source photo.
- 02
Upload your own still-life source photo
Use a clear, well-lit still-life photo where your core objects are easy to see against the original tabletop and wall. For best results, frame your shot so the items you want to keep are not cropped at the edges. The sample source used for this guide is available at /audits/seo-2026-08-27/negative-space-distill-before.webp if you want to test the Skill with the exact same input first.
- 03
Run the transformation and save your accepted result
Start the generative transformation, then wait for the output to load. Once it appears, compare it side by side with your original photo to confirm you are happy with the direction. If the result matches what you were aiming for, save it to your Imagild Library so you can access it later for sharing, editing, or export. The sample result referenced in this guide is published at /audits/seo-2026-08-27/negative-space-distill-after.webp for direct comparison.
Key Decisions to Make Before You Start
- Choose which objects you want to prioritize for preservation
- Before you upload your photo, decide which items in your still life are essential to keep in their original positions. For the sample, the creator prioritized the black pot, grass stem, folded paper, sticks, and twine, so none of these core items were moved or removed. If you include extra small, easily overlooked objects in your source, you may want to remove them first to keep the final paper art feeling calm and uncluttered.
- Accept that photographic detail will be deliberately reduced
- This Skill is designed to move away from a literal photographic look, so wall texture, fine surface grain, subtle cast shadows, and sharp depth cues will be softened into broad, flat paper fields. If you want to retain full photorealistic detail for a product catalog or documentation shot, this is not the right Skill for your use case. It works best when your goal is a quiet, handcrafted, graphic paper-art aesthetic instead of a crisp photo.
- Verify your output before you use or share it
- Treat the reviewed result as one example, then check your own output object by object. Confirm that the core objects remain legible, compare their left-to-right and front-to-back arrangement with the source, and look for unexpected additions or bright colors. If you plan to print the piece, use Adobe's official image-dimension and print-resolution guidance to evaluate the exported file against your intended print size.
Official sources checked
Frequently Asked Questions
Can I use this Skill for any still-life photo, or does it only work with the exact pot, grass, and sticks sample shown here?
You can use it with your own still-life photos, but the sample observations about preserved object counts and layout apply only to the specific published before-and-after pair. Your own output will depend on the content of your source photo, so you should always check that your preferred objects and their arrangement are preserved in the result before you save it.
Will this Skill add text, logos, or decorative borders to my finished paper art?
The reviewed sample result did not include any titles, logos, extra objects, or unrelated bright colors, but you should still inspect your own output carefully. Generated lettering and unexpected decorative elements can occasionally appear in generative transformations, so a quick visual check before you share or export your file will help you catch anything you did not intend to include.
What should I check before saving a paper-art result?
Compare the result with the source object by object. Check the count, left-to-right order, overlaps, background reduction, and any unexpected additions. Save only a result whose composition remains useful for your intended project.