Skill Guide
Turn Architecture Photos Into Watercolor Landmark Art With Gilded Jade Atlas
This step-by-step guide walks you through using the Gilded Jade Atlas Skill to turn a real travel or architecture photo into polished watercolor landmark art, with clear notes on what the transformation keeps, what it changes, and what you should verify before saving your final file.
Quick Answer
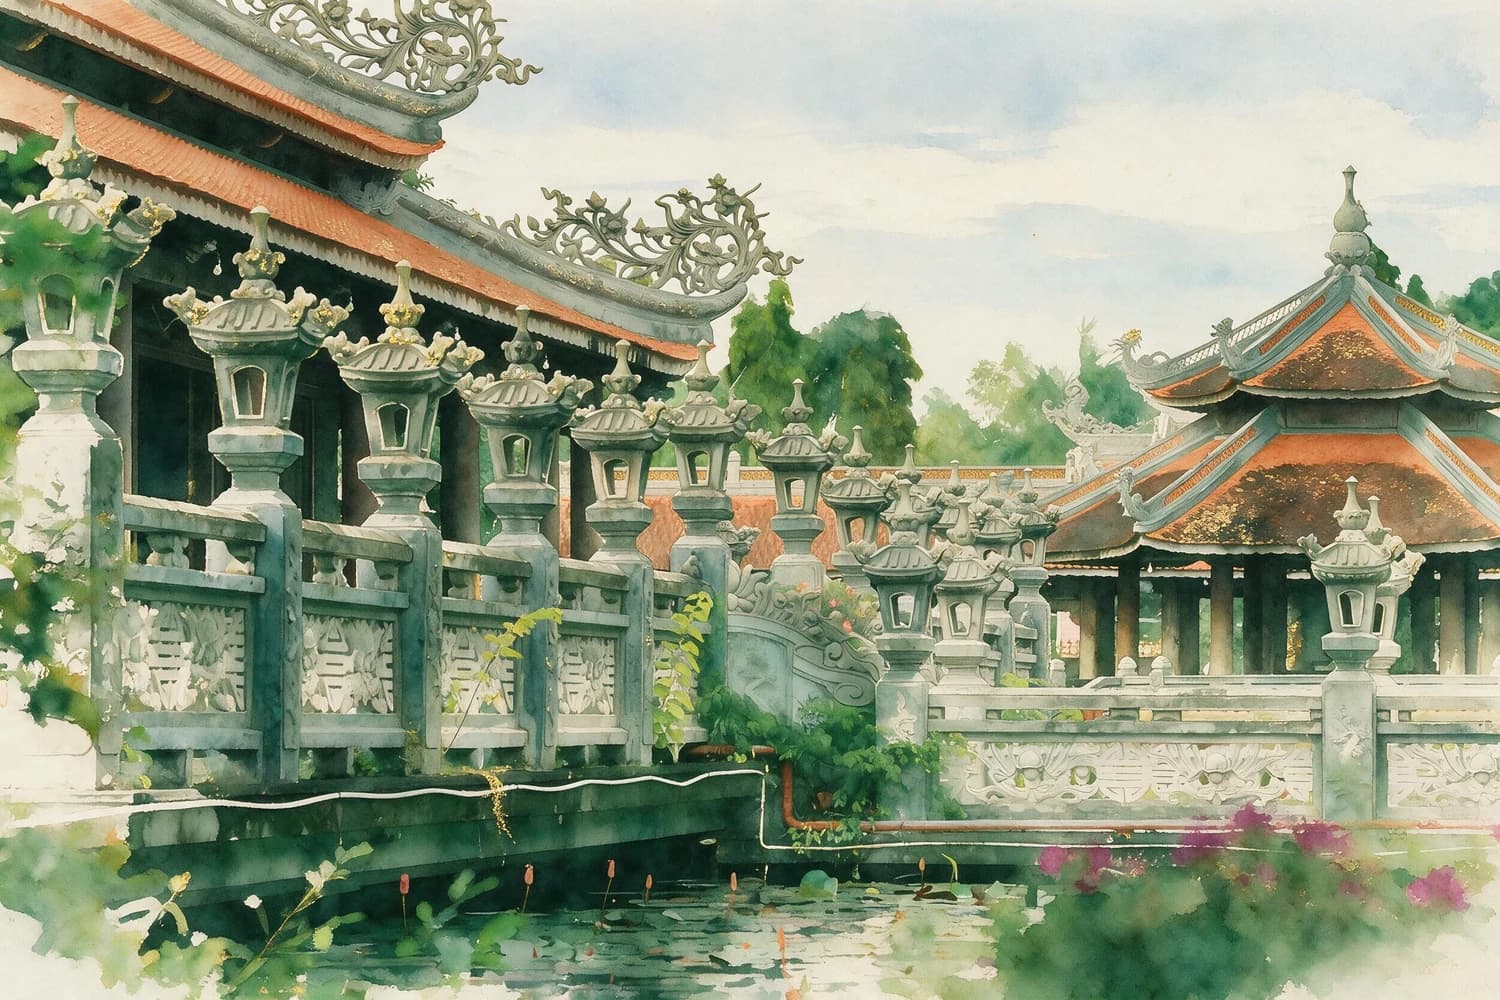
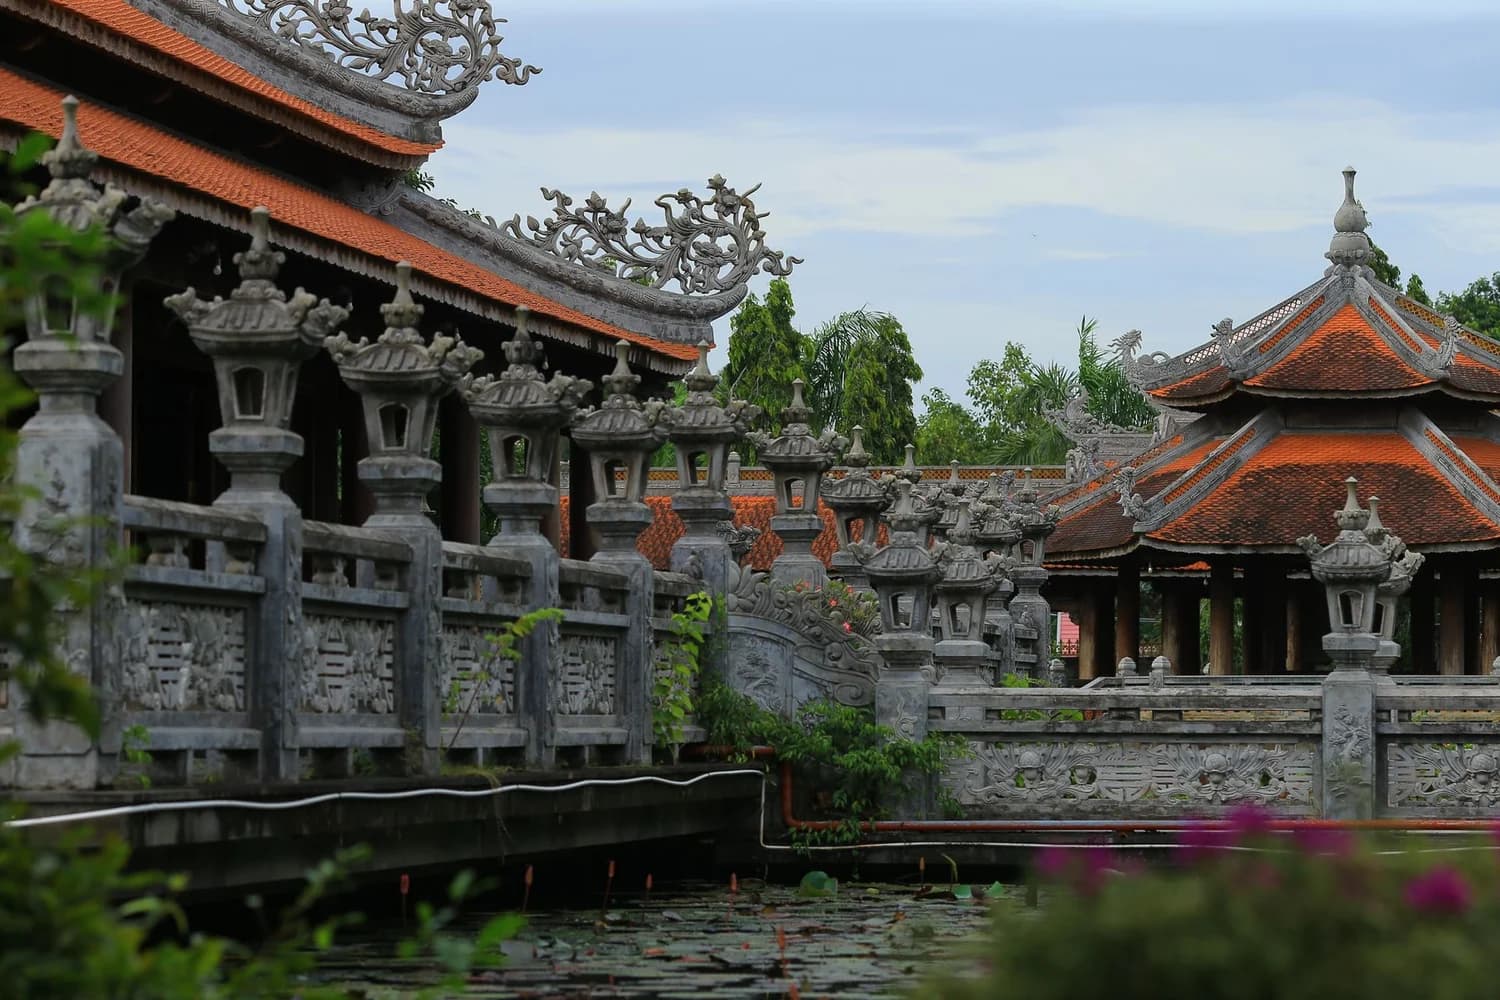
Gilded Jade Atlas transforms your architecture photo into restrained jade-green watercolor art that preserves major roof positions, original perspective, and key scene elements, with subtle gold accents only on select light-catching edges. In the reviewed before-and-after pair, the source shows multiple tiled roofs, repeated stone lantern posts, railings, a pond edge, and vegetation arranged in clear depth layers.
Real Before-and-After Proof
The source photo, a licensed 85 LENS shot hosted on Pexels, shows a traditional temple scene with multiple tiled roofs, evenly spaced stone lantern posts, foreground railings, a distinct pond edge, and layered vegetation arranged across clear depth planes. The generated result retains every major roof position, the original camera perspective, the consistent rhythm of the lantern posts, the shape and placement of the railings, and the exact waterline of the pond, while replacing all photographic surface detail with soft, blended jade-green watercolor washes. Orange roof accents from the original photo are preserved, and gold pigment appears only on selected light-catching edges and small ornamental details. The final image does not add any invented title, artist seal, location label, or fictional landmark marker that was not present in the source photograph.
Step-by-Step Workflow
- 01
Open the Gilded Jade Atlas Skill page
Open the published Skill at /skills/gilded-jade-atlas and review its source and result sample. Compare the roof positions, perspective rhythm, depth layers, mineral-green washes, and restrained gold accents with the direction you want before providing your own source image.
- 02
Upload your architecture source photo and run the transformation
Select a clear, well-lit architecture photo that shows distinct rooflines, visible depth layers, and no heavy motion blur. Upload it to the Skill, then initiate the generative transformation. The Skill will process your image using its defined visual direction, which prioritizes architecture-focused composition over arbitrary stylistic changes.
- 03
Compare the output to your source and save your accepted result
Once processing completes, place the generated result side by side with your original photo to verify that roof positions, perspective, and key scene elements match your intent. If you are satisfied with the output, save it to your signed-in Imagild Library, where it will be stored for the platform's stated retention period.
Key Pre-Use Decisions
- Choose a source photo with clear, unobscured architecture you want to preserve
- For best results, select a photo where rooflines, structural elements, and depth layers are fully visible and not blocked by large foreground objects, crowds, or heavy lens flare. The Skill works best when the original composition already has a strong, readable architectural structure to reference.
- Decide how much photographic surface detail you are comfortable replacing
- This transformation replaces all fine photographic texture, including individual tile patterns, stone grain, and sharp foliage detail, with soft watercolor washes. If you want to retain high levels of photorealistic surface detail, this Skill is not the right fit for your project.
- Verify no unintended text or invented elements appear in your final output
- While the published sample does not add titles, seals, or location labels, generative transformations can produce unexpected small details in different runs. Always check your full output frame carefully for any added text, fictional ornaments, or misplaced elements before you share or export your final file.
Official sources checked
Frequently Asked Questions
Will this Skill keep the exact perspective of my original architecture photo?
The published sample preserves the original camera perspective and all major roof positions, but individual generative runs can vary slightly. You should always compare your output directly to your source photo to confirm the perspective matches what you intended before you save or share the file.
Where does the gold accent color appear in the watercolor result?
In the official sample, gold is applied only to selected light-catching edges and small architectural ornaments. It does not cover large areas of the scene, and the overall palette stays focused on restrained jade-green washes and the original photo's preserved orange roof accents.
Can I use this Skill on photos that are not of traditional architecture?
The published sample is built around a traditional temple scene with tiled roofs, repeated structural posts, and clear depth layers. Results on modern architecture, non-landscape subjects, or tightly cropped close-ups have not been reviewed as part of this official Skill release, so you may get unexpected outputs that do not match the sample's visual direction.