Controlled AI object removal
Remove objects from a photo with a controlled AI selection
Object removal is strongest when the person, sign, cable, or distraction is selected deliberately and the surrounding image gives the model enough evidence to rebuild what was hidden.
Quick answer
Paint over the unwanted object, add any missed edges, erase overshoot, and apply enough feathering to avoid a hard cut. Each run generates one rebuilt background. Review that result against the source before accepting it; small objects against repeated sky, wall, grass, pavement, or water are usually easier to evaluate than large objects covering unique structures.
A selection plan comes before the generated fill
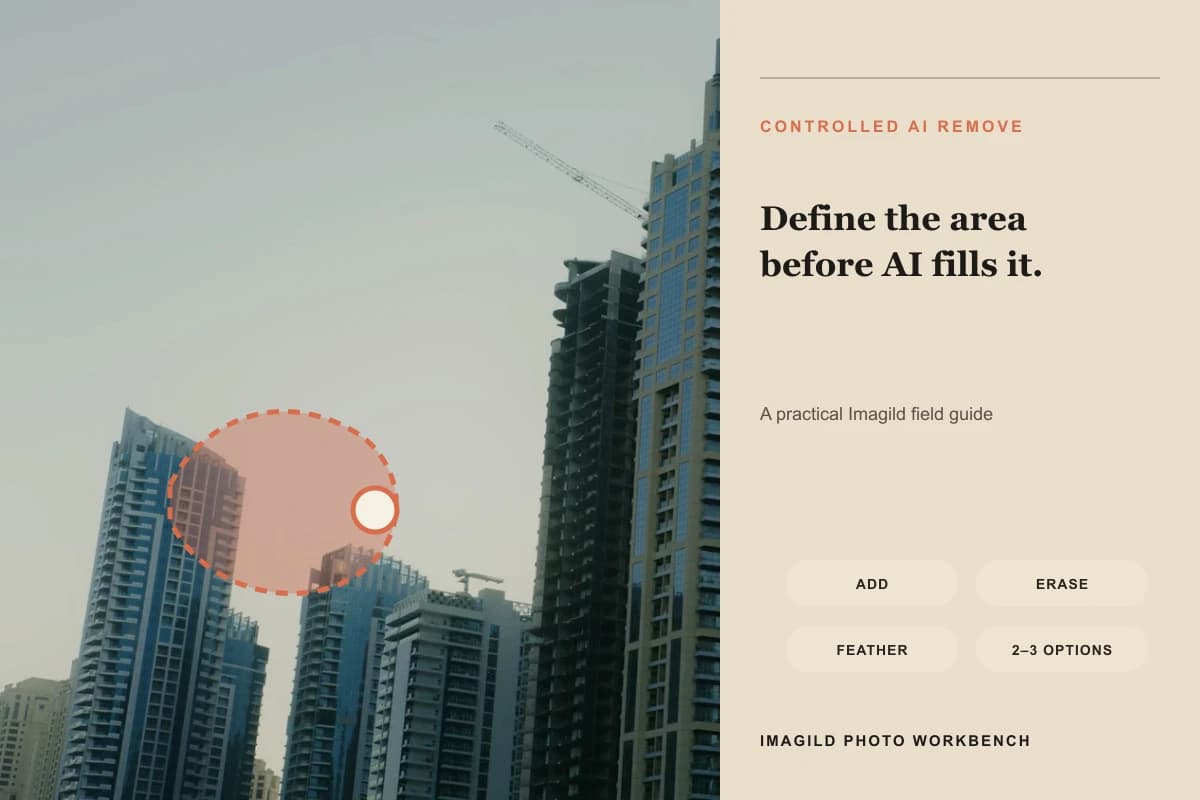
Imagild separates selection from generation. You control brush size, add-to-selection, erase-from-selection, feathering, and an optional object hint before any image credit is used. The editorial visual shows that mask-first sequence rather than presenting an invented flawless removal. The model must infer hidden pixels from the unselected photo, so the accepted result should be checked for broken lines, repeated tiles, doubled shadows, texture smears, altered people, and new objects.

A controlled three-step workflow
- 01
Draw a complete but economical mask
Use a brush large enough to cover the object efficiently, then reduce it near edges. Include attached shadows, reflections, straps, wires, or carried items only when they must also disappear. Leave nearby background unmasked so the model can read texture and structure. A mask that is too narrow leaves fragments; one that is too broad removes useful evidence.
- 02
Refine with Add, Erase, and Feather
Add missed corners and erase areas that belong to a person, building edge, horizon, or foreground subject. Feather softens the transition but cannot repair an inaccurate selection. Use less feather near crisp architecture and a little more around soft hair, foliage, haze, or shallow-focus edges. Write an optional hint that names the object, not an imagined replacement scene.
- 03
Review the result at boundaries and in context
Each run returns one result. Inspect the mask boundary at high zoom, then view the whole frame for lighting, perspective, texture scale, and narrative continuity. Accept only a result with minimal invented detail. If it breaks an important structure, reduce the selected area or keep the object; rerun only after improving the mask, because another completed run uses another image credit.
What to inspect before accepting the edit
- Background predictability matters
- Repeated wall, sky, sand, grass, water, or pavement gives the model more nearby evidence. A large person covering a unique face, sign, sculpture, vehicle, or architectural junction leaves less information. The tool can generate a plausible fill, but it cannot recover a factual view that the camera never captured.
- Feathering controls transition, not truth
- A soft boundary can hide a cut, yet excessive feathering can blur important edges or pull colors into the fill. Match feathering to the edge type and compare against the original at 100 percent. Structural lines should remain straight; textured areas should not repeat in obvious stamps.
- Reject collateral changes
- Object removal should not alter a nearby face, hand, logo, landmark, text line, or meaningful shadow. Compare more than the empty patch: check the full image for moved objects, color shifts, duplicated details, and changes to people. Keep the source and accepted result as separate Library assets.
Official sources checked
Frequently asked questions
Can AI reveal what was really behind the removed object?
No. It creates a plausible reconstruction from visible context; it does not recover hidden factual pixels. Do not use the fill as evidence of what was behind a person, vehicle, sign, or obstruction, especially for documentation, insurance, news, or forensic purposes.
How much feather should I use?
Use the smallest amount that avoids an artificial hard seam. Crisp architecture and product edges need less; hair, foliage, haze, and shallow-focus transitions may need more. Preview the overlay and inspect the completed result at full size rather than treating one feather value as universal.
Why did the fill repeat a window or paving pattern?
Repeated patterns are common cues for reconstruction and can also become obvious artifacts. Try a tighter mask, preserve more neighboring structure, or split one large removal into smaller attempts. If a unique pattern remains unreliable, rerun after refining the mask or leave the original scene intact.