Film Revival Guide
Make a Digital Photo Look Like Natural Film Without Fake Light Leaks or Crushed Detail
This step-by-step walkthrough shows how to use the Film Revival Skill to give your digital photos a gentle, authentic film character, with no forced vintage damage and no loss of the scene you originally photographed.
Quick Answer
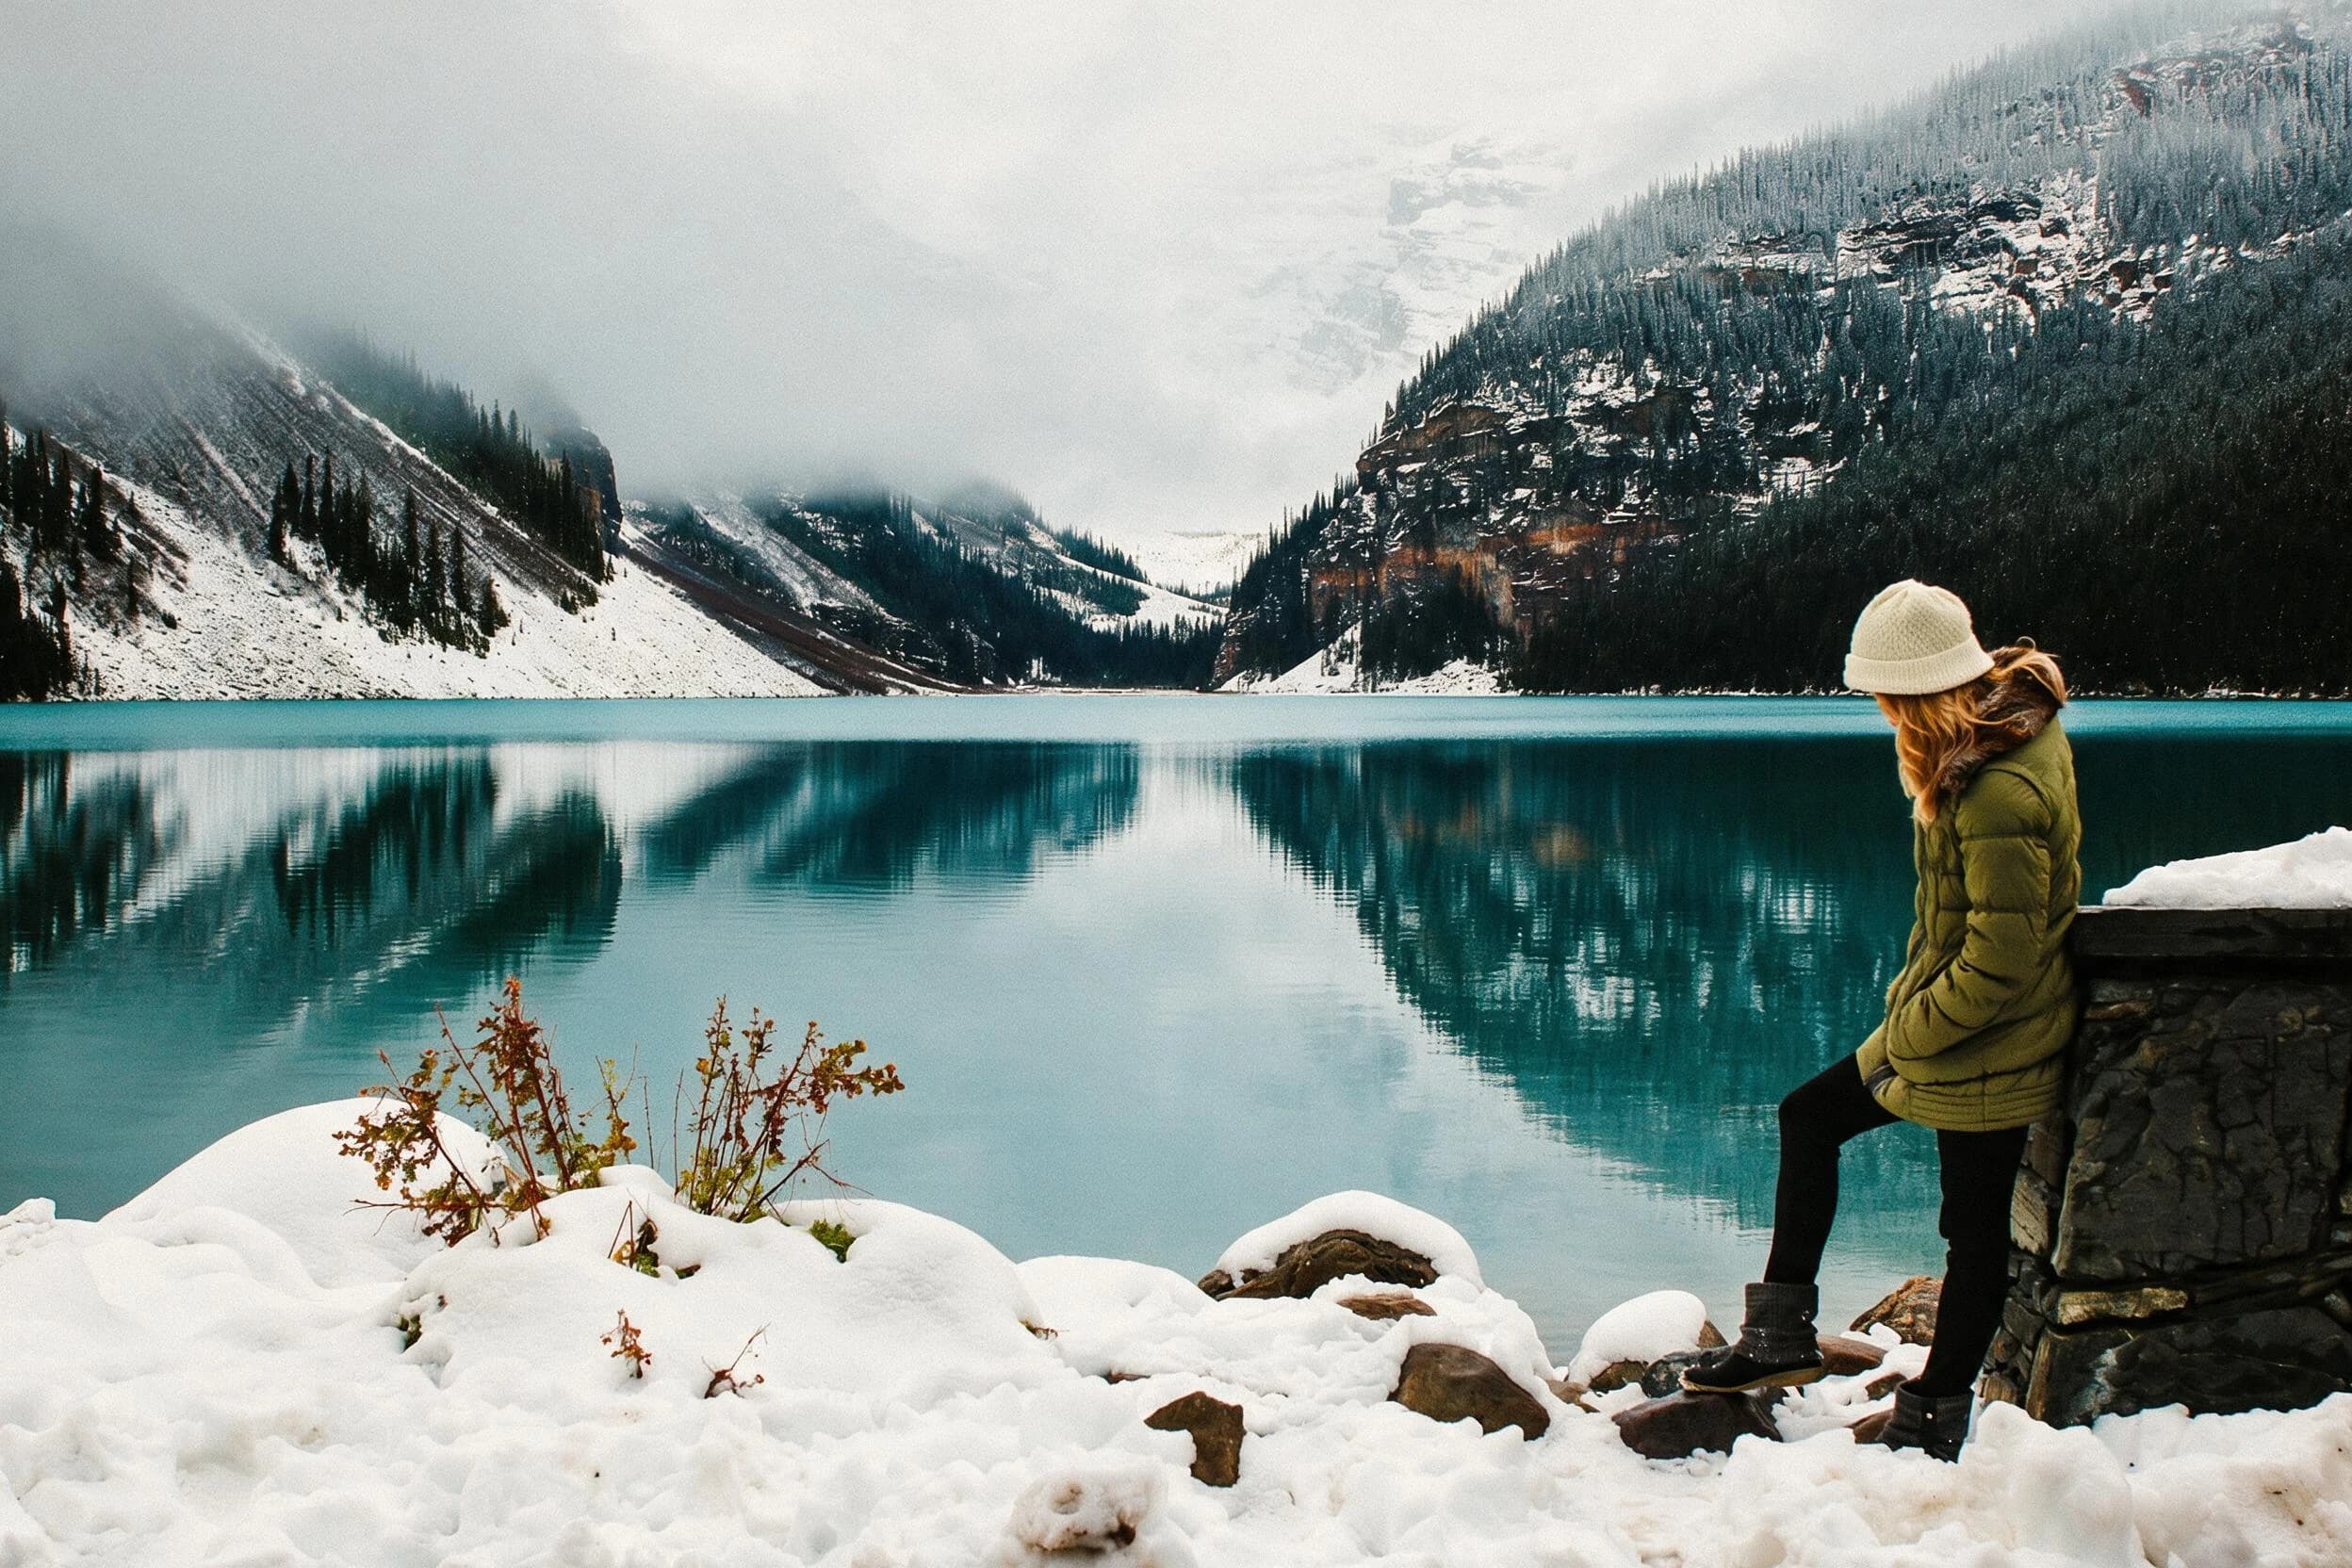
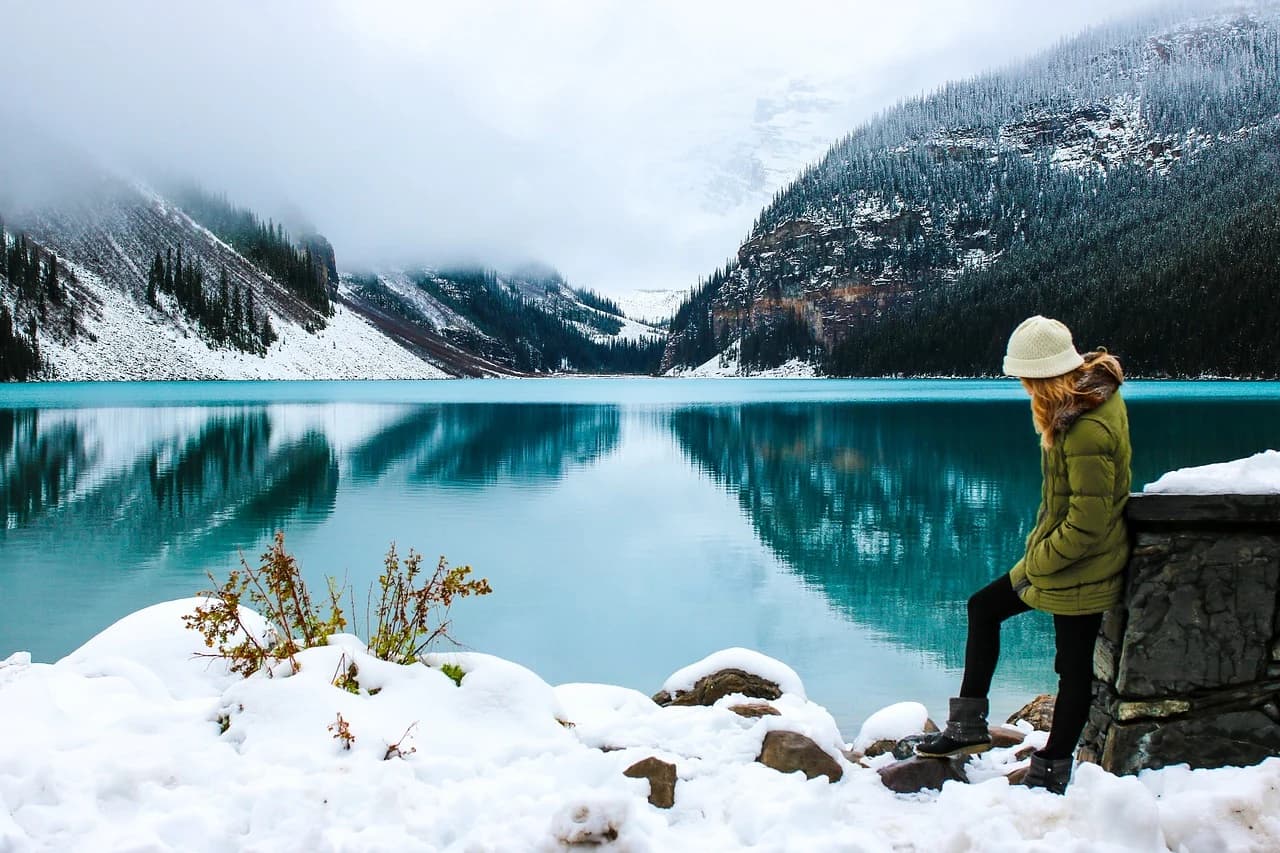
Film Revival transforms your digital photo into a natural film-like result by softening harsh highlights, balancing midtones, adding fine irregular grain, and keeping your full original scene intact without fake scratches or light leaks. In the reviewed before-and-after pair, the source is a snowy mountain lake scene with one person at the right edge, bright snow, turquoise water, dark trees, fog, and reflections.
Real Before-and-After Proof
The published source is a wide snowy mountain lake scene with one person standing near the right edge, bright sunlit snow, turquoise open water, dark evergreen trees, soft low fog, and clear lake reflections of the surrounding peaks. The Film Revival result keeps every core element of this scene fully intact: the person, shoreline shape, mountain silhouette, fog layers, lake reflections, and exact framing are all preserved. No border, date stamp, scratch, light leak, new weather effect, or extra object was added. The visible changes are subtle: bright overexposed snow areas are softened to recover faint surface detail, tonal separation between trees, water, and sky feels more natural, and a fine, irregular grain overlays the frame to mimic physical film texture without erasing the original photograph’s clarity.
Step-by-Step Workflow
- 01
Open Custom Studio with this guide beside you
Use the reviewed example as a visual reference, then describe a restrained natural-film treatment: softened highlights, balanced midtones, fine irregular grain, no scratches, no light leaks, and no invented objects. Upload your source before generating.
- 02
Upload your source photo and run the Skill
Upload the digital photo you want to transform, then start the generative transformation. You do not need to write a prompt or adjust any extra settings to use the published Skill. The process will apply the Film Revival visual direction to your full source image, working from the entire frame you provided rather than modifying only a selected portion.
- 03
Review, compare, and save your accepted result
Once the transformation finishes, place the result side by side with your original photo. Check that all key subjects, locations, and small details you care about are present and recognizable. If you are satisfied with the output, save it to your signed-in Imagild Library, where it will be stored for the platform’s stated retention period for later access or export.
Key Decisions to Make Before You Start
- Choose which core elements you need to preserve
- Before you run the Skill, identify the non-negotiable parts of your photo that must stay unchanged: a specific person’s position, a handwritten sign, a unique landmark, or a delicate reflection. This helps you quickly spot any unexpected shifts after generation and decide whether the result is worth keeping. The public sample shows that full scene preservation is the intended behavior, but you should still confirm your own critical elements are intact.
- Decide if a natural film look fits your intended use
- Film Revival is designed for users who want subtle photographic character, not a stylized vintage poster. If you are creating content for a travel portfolio, personal photo album, or social media post that needs to feel warm and organic without distracting fake damage, this Skill is a strong fit. If you explicitly want added scratches, light leaks, or sepia toning, you will need a different generative workflow that supports those specific modifications.
- Verify fine detail and generated lettering before export
- Generative transformations can occasionally alter very fine details that are hard to spot at a glance. Zoom in on any small text, printed labels, or distinct facial features in your result to confirm they match your original photo. If you notice any unexpected changes to these elements, you can run the Skill again with the same source image to produce a new variation, or keep your unedited original file as a backup.
Official sources checked
Frequently Asked Questions
Will Film Revival add fake scratches, light leaks, or date stamps to my photo?
No. The published Film Revival sample does not include any of these artificial vintage elements, and the Skill is built to focus on natural tonal and grain adjustments instead of fabricating age-related damage. The goal is to make your digital capture feel like it was shot on real film, not to make it look like a neglected old print.
Why does this Skill use fine irregular grain instead of a uniform digital grain overlay?
In the reviewed result, fine grain varies subtly across bright snow, darker trees, water, and sky rather than forming an obvious uniform overlay. Compare grain in several tonal areas and reject any result with repeated patterns, heavy damage, or texture that obscures important detail.
What should I do if the result softens details I wanted to keep sharp?
First, compare the result directly to your original to confirm which details have changed. If key sharp elements feel too soft, you can run the Skill again to generate a new variation, or keep your original digital file alongside the transformed version so you can blend the two later in a separate editing tool if you wish.