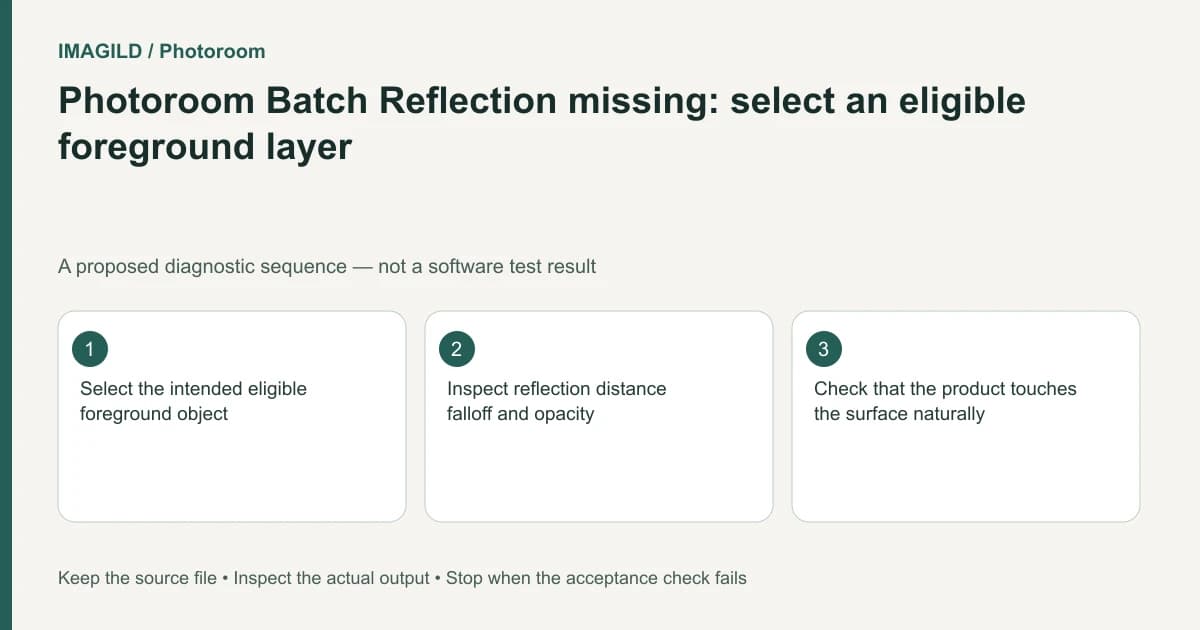
Select the product's eligible foreground layer rather than its floor background when looking for Photoroom Reflection. The documented Web Batch effect excludes background and shape layers. Apply it to a suitable subject, then inspect its contact, fade and visibility in the complete scene before copying the choice across images.
Separate the reflecting object from the receiving surface
A shiny floor is part of the scene, while the reflection depicts the foreground object. Selecting the floor and expecting the object's Reflection control confuses those roles. Record the active layer and confirm that it actually contains the product or other intended subject.
Photoroom's Reflection instructions document the eligibility boundary and appearance controls. Those controls create a visual effect; they do not establish a physically measured reflection for arbitrary camera or material conditions.
Preserve the scene without the effect so you can compare it. A background that already contains a reflection may not need another one. Also check whether a dark shape below the product is a contact shadow, a reflection or part of the product itself.
Check layer identity before rebuilding the design
If the selected item is a native shape, consult the shape-editing documentation rather than treating absent image effects as a broken menu. Do not flatten the only editable shape just to obtain an effect unless that representation change fits the brief.
If you cannot distinguish two overlapping copies, the duplicate-layer guidance explains how copies may overlap within an image. Identify the intended subject rather than applying the effect to every similar-looking layer.
Work on one representative image first. A tall bottle, a low shoe and a transparent jar create different visual review problems even when they occupy the same batch.
Inspect the reflection as part of the composition
| Feature | Question to ask | Reason to revise |
|---|---|---|
| Contact region | Does the product appear to sit on the surface? | Reflection starts implausibly far away |
| Visibility | Is it appropriately visible for this scene? | It competes with the real product |
| Angle | Does the apparent direction fit the floor? | It conflicts with the scene perspective |
| Fade | Does it diminish coherently? | Abrupt or distracting termination |
| Softness | Is detail suitable for the material impression? | It resembles an unrelated duplicate |
| Existing effects | Are there already shadows or reflections? | Several incompatible cues accumulate |
These are proposed editorial checks, not a material-rendering certification. A pleasing reflection can still be inappropriate for a matte surface or a factual product record.
Keep shadows and reflections distinct
A shadow describes blocked light; a reflection is a mirrored visual appearance. They can coexist but should not be adjusted as if they were the same layer. Inspect the product's original photographed shadow before adding another visual cue.
Our double-shadow repair guide helps identify conflicting contact cues. The separate object-and-shadow handoff guide explains why components may need distinct delivery roles. Neither implies that Photoroom exports every effect as an independently editable file.
If the light direction remains inconsistent, consult the background-lighting direction check. Increasing the reflection's opacity cannot correct a contradictory highlight on the subject itself.
A hypothetical shoe collection
Suppose a shop prepares three shoes on a clean studio floor and wants a subtle reflected presentation. One selected image is the background layer, so Reflection is absent. This is an illustrative diagnostic plan, not a tested Photoroom result.
Select the foreground shoe and evaluate one candidate effect. Compare the sole contact, the reflected silhouette and the fade. Then inspect the other two shoes independently; different silhouettes may make the same settings look stronger or weaker.
Do not approve all outputs because the first image looks acceptable. A shoe photographed with an existing cast shadow can create a different combination from one supplied as a clean cutout. Retain the accepted no-effect reference until the complete batch is reviewed.
Close with an export check
Download the required results and reopen the actual files. Check that the effect is present only on intended images, product labels remain readable and no reflection is cut off unexpectedly. Record which source image and foreground layer supplied each result.
If the effect cannot fit the brief, remove it through the supported route or return to the preserved design rather than building layers of compensating effects. This documentation-based guide reports no application execution, optical simulation or measured comparison of reflection quality.