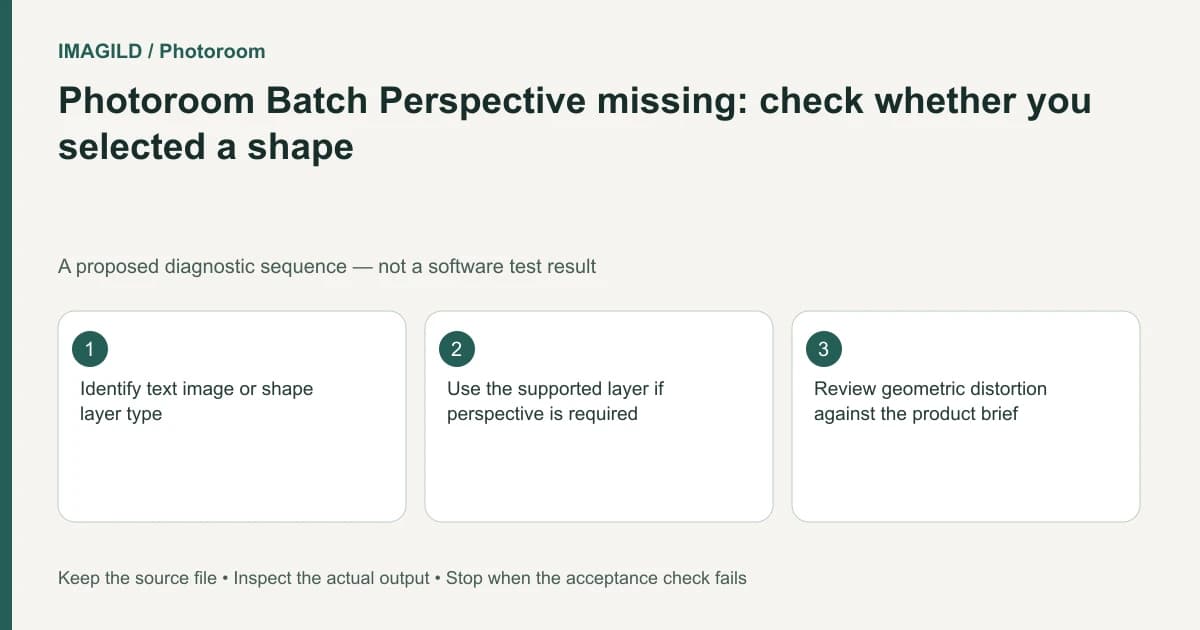
Check the selected layer type before troubleshooting a missing Perspective control in Photoroom Batch Web. The documented operation applies to image and text layers, not shapes. Keep the original shape editable, choose a supported construction for the required result, and inspect the transformed artwork rather than assuming the whole product has acquired a new camera view.
Identify the selected layer and the intended change
Record whether the selection is a product image, logo image, text object or native shape. A badge can look identical in the preview while being a shape in one design and a raster image in another. Its appearance does not establish which controls should be available.
Photoroom's Perspective documentation supplies the image/text boundary. Stay within the new Web Batch workflow described there; do not borrow menus from an older editor or the mobile application.
Also distinguish a planar tilt from a geometric or photographic change. Slanting a flat logo to fit a surface does not reveal a product's hidden side. If the brief requires another actual product viewpoint, obtain an appropriate source photograph or a separately approved generation rather than calling a distorted front view a new angle.
Decide what must remain editable
A native shape may need later changes to color, radius or star construction. Do not flatten the only editable version merely to expose an image-layer command. Preserve the master and record the reason a separate representation is needed.
The shape-editing guide describes controls available to shapes. The shape-corner documentation shows that even within shapes the relevant controls depend on their construction. A missing Perspective item is not evidence that the shape itself is damaged.
If a separately prepared image representation is appropriate, label it as such and keep the native source. Check whether its resolution and transparency remain suitable before importing it. This is an editorial alternative, not a claim that Photoroom provides an undocumented one-click conversion.
Match the operation to a verifiable result
| Starting material | Required result | Review boundary |
|---|---|---|
| Text layer | A readable angled caption | Wording, shape and legibility |
| Logo image | A planar surface placement | Logo proportions and edges |
| Native shape | Editable badge geometry | Supported shape controls |
| Product photograph | Accurate product identity | No misleading body distortion |
| Flattened design copy | Presentation-only transformation | Master retained separately |
| New camera-view request | Another genuine viewpoint | Source evidence or approved interpretation |
Use this table before changing representations. A command appearing is not enough if the chosen workaround removes the editability the recipient needs.
Transform a representative supported layer first
On a working copy, select a supported layer and follow the official Perspective route. Change one direction at a time and compare the result with the intended surface. Check the narrow edge of the tilted object, text readability and any alignment with adjacent elements.
Do not apply the same adjustment across a batch until the representative case is accepted. Images with different object positions or proportions can need different review. A numeric setting copied consistently does not establish a consistent visual result.
Our Photoshop perspective-warp boundary guide explains another application's perspective workflow. It is useful for understanding why perspective operations need explicit geometry, but its controls are not Photoroom instructions.
A hypothetical sale-badge brief
Suppose a shop has a native star-shaped badge and wants it tilted as if attached to a product display. Perspective is missing from that shape's menu. This is a proposed production example, not an executed Web Batch session.
First decide whether the badge must remain a native editable shape. If it does, use supported shape construction and placement, or revise the visual brief. If a presentation image is acceptable, prepare a separate authorized image version while retaining the editable master, then review the supported image-layer operation.
Check the badge wording and its apparent attachment to the product. Do not distort the product itself just to make the badge look more dimensional. The source-preserving composite guide is relevant when factual product detail must remain unchanged.
Inspect the downloaded deliverable
Reopen the actual export and compare the transformed layer with the accepted preview. Check clipped corners, fine text and unwanted opaque edges. Keep the editable master and flattened delivery artifact separately identified.
This documentation-based article reports no perspective experiment, product-geometry measurement or guarantee that a tilted layer accurately simulates a physical surface.