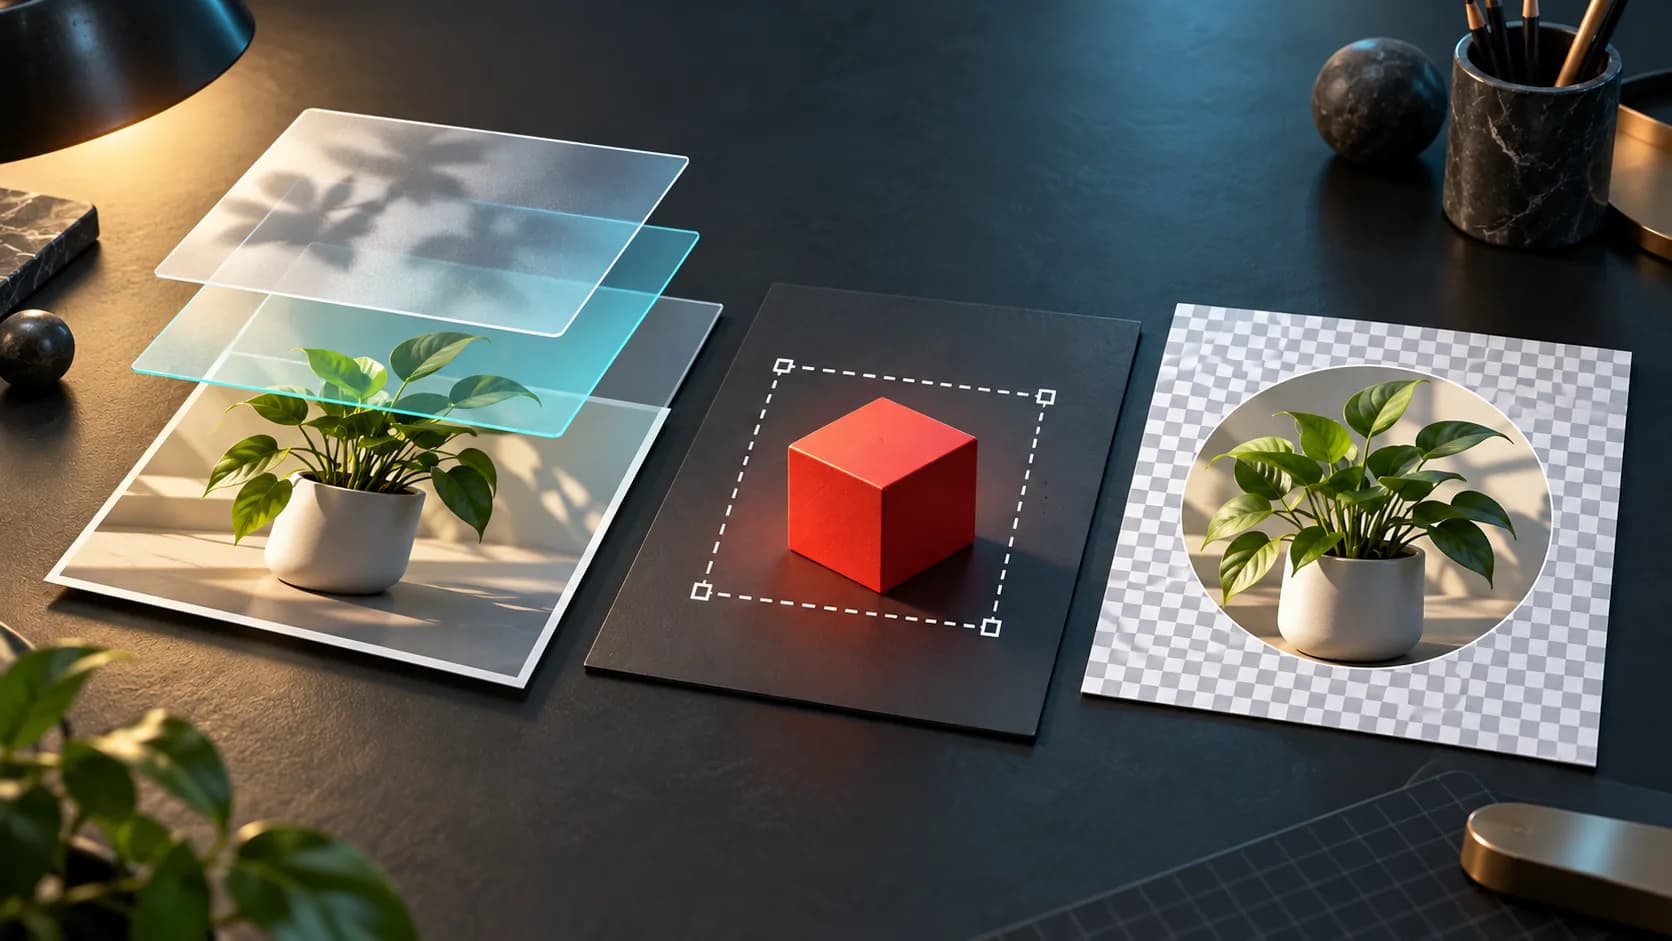
GIMP's Sample Points dialog samples all layers by default. To read only the active layer, uncheck Sample Point Menu > Sample Merged in the dialog's tab menu. A fixed point can therefore report a composite color even while a different layer is selected.
Key Takeaways
- Sample Merged controls whether the reading includes the layer stack.
- Sample points stay at defined positions and update as you edit.
- Record the point, color model and sampling scope together for a useful comparison.
Decide which color you are trying to measure
Suppose a product photograph sits beneath a translucent creative overlay. You select the photograph and expect a sample point to show its unmodified pixel color. With Sample Merged enabled, the displayed value instead reflects the composite at that point.
Neither reading is inherently the correct one for every task. The photograph's own value is relevant when checking the source layer. The composite value is relevant when checking the appearance of the assembled card. State which question the measurement is meant to answer before adjusting color to match a number.
The GIMP Sample Points manual documents the all-layer default and the active-layer alternative.
Place a persistent point and compare the scope
Open Windows > Dockable Dialogs > Sample Points. To create a point, hold Ctrl while dragging from one of the image-window rulers and release at the desired position. Creating the point does not automatically open the dialog.
Use a recognizable location that remains meaningful during the proposed edit. The dialog can show four pixel locations and updates their values in real time.
To diagnose a mismatch:
- Keep the layer visibility and the point position unchanged.
- Select the intended source layer.
- Note the reading with Sample Merged enabled.
- Disable it through the Sample Points tab menu.
- Compare using the same color model and units.
Changing visibility, coordinates and sampling scope at once would make the difference harder to explain.
Keep the interpretation within the measurement
A useful quality-control note might identify “point 1 on the label, active-layer sampling, RGB percentages.” Another might specify the composite instead. The crucial detail is that a colleague can reproduce the same scope.
Accept the diagnosis when the readings correspond to the intended source layer or composite and a controlled layer edit changes the expected reading. The numbers do not by themselves establish physical print accuracy or a calibrated viewing environment.
If noise makes neighboring pixels disagree, the spatial averaging guide addresses a different sampling question. If the purpose is neutral-reference evaluation, use the gray-reference workflow rather than treating any convenient patch as a known neutral target.
Related tasks
- Why Does a Photoshop Color Reading Change with Every Pixel?
- Should I Use a White Wall or a Gray Reference to Set Photo White Balance?
- How Do I Soft-Proof RGB Artwork for CMYK Printing Before Ordering?
Sources and scope
- Sample Points: Sample Points shows up to four pixel readings that update in real time. Sampling defaults to all layers; disabling Sample Merged in the tab menu samples the active layer only. Points are created by Ctrl-dragging from a ruler.
Official documentation synthesis; no hands-on test, search-volume or measured citation-rate claim. Scenarios and diagnostic comparisons are proposed editorial examples, not reported experiments.
Prepared by Imagild Editorial, the company editorial team responsible for these guides. AI assisted research and drafting. This is documentation-based guidance with proposed examples, not a claim of hands-on testing or an independent product review. Report a correction.
Cover: AI-generated conceptual editorial illustration; not a real application screenshot, observed output or before-and-after test.