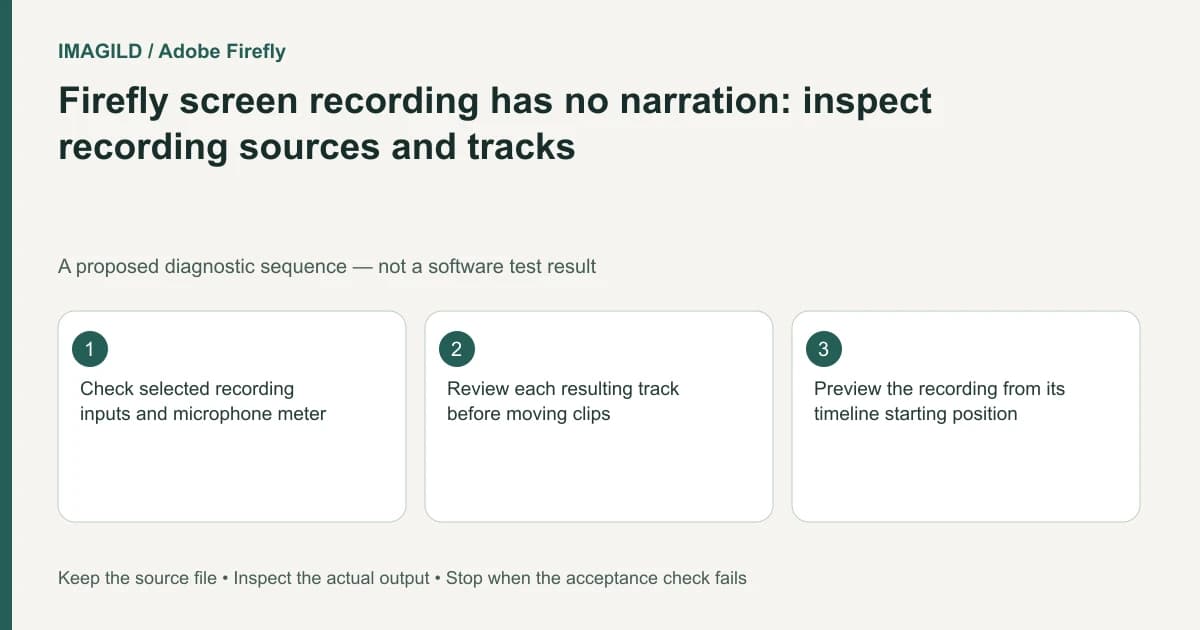
Check both the selected recording sources and the resulting timeline tracks. Firefly can record screen, webcam and microphone inputs in different combinations, and the screen clip is not necessarily where the narration resides. Verify microphone activity, then review recorded clips from their actual start position before recording the whole demonstration again.
Name the sound and picture you need
Write whether the tutorial needs screen capture, webcam picture, your live narration, authorized tab/system sound or some combination. Hearing the existing timeline while recording is another condition. Do not use the single word audio for all of these sources.
Adobe's screen-and-webcam recording guide describes independently selected inputs in Timeline beta. It also documents the selected microphone's sound meter and separate placement of recorded clips. Use the current source selections as evidence rather than assuming a previous session's settings remained active.
Keep private notifications and unrelated screens out of a diagnostic recording. Use a short authorized sample with an easily recognized spoken phrase before attempting the full lesson. This is a proposed test plan, not an executed capture.
Check capture before editing the result
Inspect the intended microphone selection and speak while watching its activity indicator. Confirm the screen-sharing scope, such as the particular tab or window, rather than recording the entire desktop by habit. If browser permission is missing, resolve requested access through the normal controls without assuming the recording tool already has it.
Record the playhead position where the new material should begin. Adobe's timeline-creation guidance helps establish the intended project context. A correct capture in the wrong timeline can look like missing material when you return to another project.
Do not continue solely because a recording countdown appeared. Stop the short sample and inspect the actual clips. Capture authorization and successful media content are separate observations.
Inspect the resulting tracks independently
| Intended source | Check before capture | Check after capture |
|---|---|---|
| Screen | Correct shared tab or window | Recorded picture contains the demonstration |
| Voiceover | Intended microphone and meter activity | Spoken phrase is audible |
| Webcam | Correct camera selection | Expected picture appears in its overlay |
| Tab or system sound | Supported sharing option and authorization | Desired source sound exists in the result |
| Existing timeline playback | Intended monitoring state | It was not confused with the new narration |
| Composite timeline | Recording start position | Tracks align with the demonstration |
The documented workflow can place the screen recording separately from a combined webcam/voiceover clip. Inspect those media items rather than concluding that the screen file must contain every selected source.
Separate monitoring from recorded content
Adobe documents existing timeline playback as muted by default during recording. That default concerns monitoring of the existing timeline; it does not establish whether the microphone or another selected input was successfully recorded. Likewise, hearing a phrase through speakers while recording does not establish that it entered the intended captured track.
Use headphones or another suitable listening setup when appropriate to avoid confusing room pickup with direct source audio. Do not promise capture of every application's protected or unsupported sound. Keep the source-specific result of your short test with the project.
Our iPhone screen-audio guide describes the same need to separate commentary and app sound on a different capture system. Its device controls do not apply to Firefly.
A hypothetical narrated software demonstration
Suppose a presenter records a browser window and webcam commentary. The screen clip appears silent when opened alone, so the presenter assumes the microphone did not record. This is an illustrative diagnostic example, not an observed Firefly session.
Inspect the other recorded clip and the timeline start position. If the spoken sample is present there, align the intended components rather than recording another duplicate. If it is absent, review the selected input and meter before another bounded capture. Do not use new music to hide a narration source that was never verified.
Once speech is present, check its level with the picture and any music. The dialogue-and-music headroom guide covers that downstream mixing issue; it cannot restore a missing source recording.
Keep the capture and edit diagnoses distinct. A source clip containing clear speech but a silent final sequence points to a later assembly or playback problem. A source with no recorded speech requires a capture decision. Repeating the full lesson before making that distinction wastes effort and produces more ambiguous files.
Verify the complete exported lesson
Follow Adobe's project-export guidance, then play the downloaded file from beginning through ending. Use the video delivery checklist to inspect actual duration, speech, picture and final hold.
Keep accepted source clips and the final edit separately identified. This documentation-based guide reports no browser permission test, microphone measurement or guarantee that every screen source can supply the requested sound.