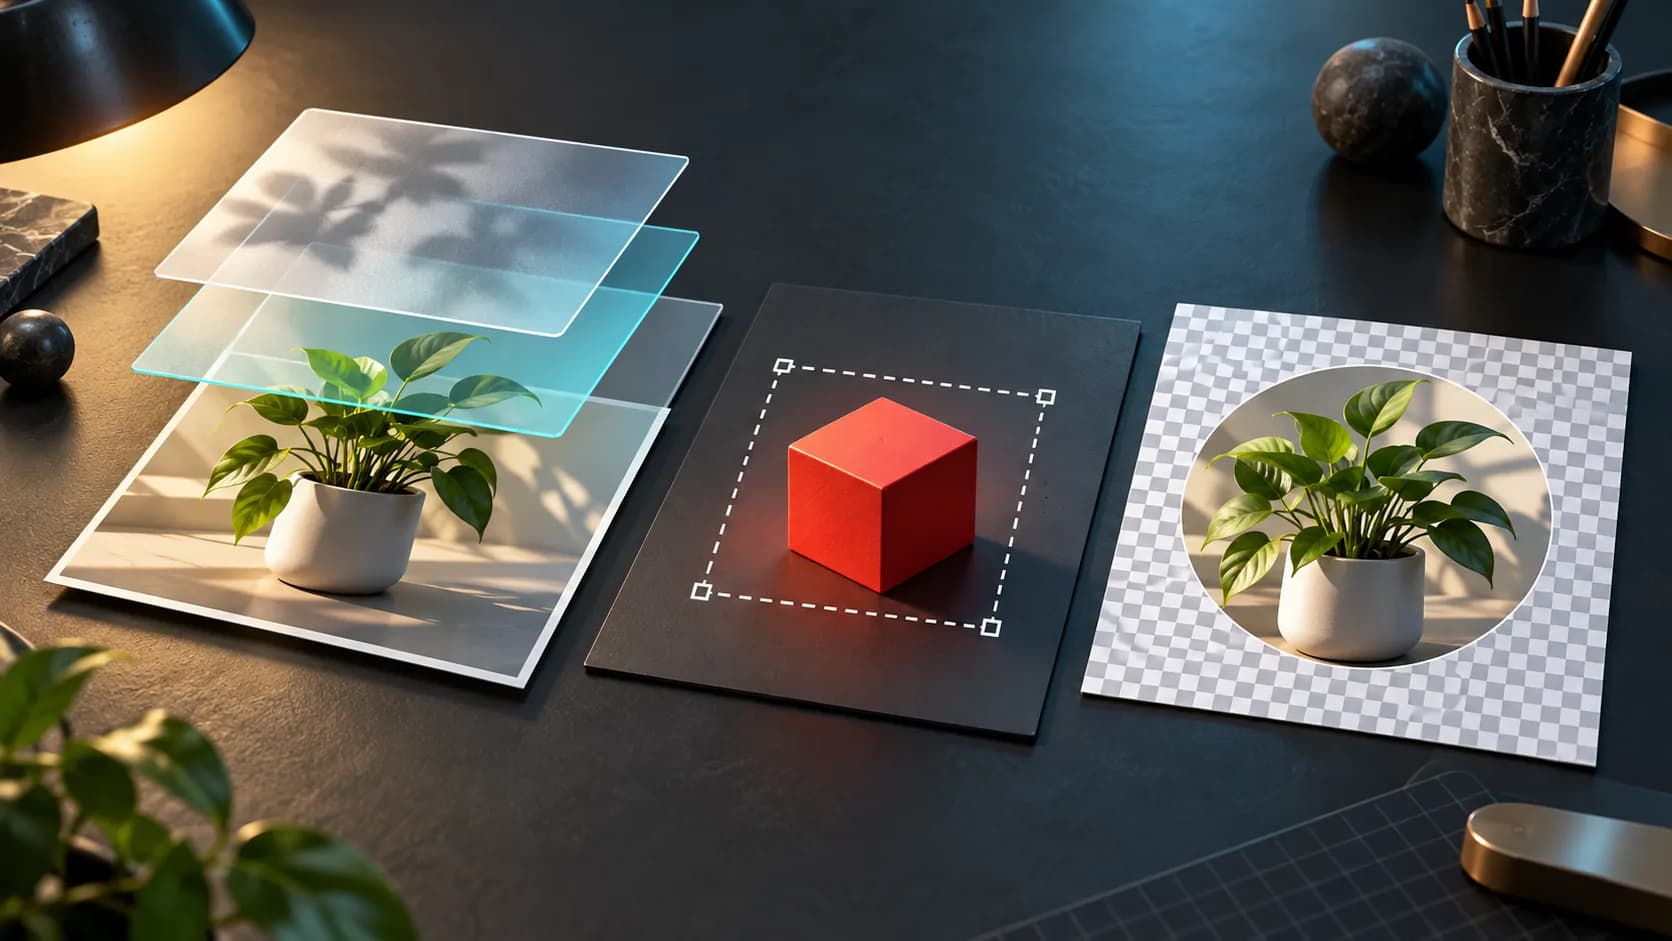
Figma's SVG export does not preserve a background blur in the same way as the live design. Its documentation directs users to blur the layer itself instead. Decide whether the deliverable needs a reusable blur effect or simply the approved appearance, then test the actual SVG in its destination.
Key Takeaways
- Background blur and direct layer blur are different operations.
- Changing the blur type can change the composition, so it needs visual review.
- A raster rendition can preserve a chosen appearance, but its output size must be suitable.
Understand what the blur depends on
A background blur responds to content behind an object. Blurring the object itself acts on that layer. Treating them as interchangeable can produce a result that looks nothing like the original glass-style panel.
For an illustrative product banner, imagine a translucent price panel over a detailed photograph. The source design softens the image behind the panel while keeping its text sharp. Applying blur to the wrong layer could soften the price text instead. Identify the intended effect before searching for an export workaround.
Figma's SVG notes say to blur the layer directly for background-blur cases. They do not promise that every live effect will retain its original editing structure after export.
Choose appearance or reusable structure
Ask the recipient what must remain editable. If they need to change the background photograph, a flattened depiction of the original blur may be unsuitable. If they only need a fixed approved banner, a raster rendition may be a reasonable candidate.
Keep the Figma master in either case. Use a separate export candidate when testing a direct layer blur. Check that the correct picture region is blurred and that text, borders, and other foreground content remain readable.
The expanded glow guide explains why an effect's vector-looking appearance does not guarantee that every part of its output remains vector geometry.
Compare in the intended viewer
Place the actual SVG in the application or webpage that will use it. Inspect the panel over the intended background, not only against the receiving editor's default canvas. Check opacity, edge transitions, sharp text, and the photo detail visible around the panel.
For the price-panel example, change the displayed background only if the delivery contract expects that flexibility. A result that looks convincing over one fixed photograph may fail as soon as the receiver replaces it.
If the task is specifically to blur only a border or outline, use an effect-targeting workflow rather than blurring a whole group without inspection.
Accept a defined output
A suitable handoff states the approved appearance and what remains editable. It should not say “all effects preserved” unless that has actually been demonstrated.
When choosing a raster fallback, confirm the required output pixel dimensions. Enlarging a small flattened panel can expose softness that the source vector interface concealed.
These are proposed acceptance checks based on Figma's documented export limitation. No browser or receiving-editor compatibility test is claimed here.
Related tasks
- Why Does My Expanded Illustrator Outer Glow Contain Raster Artwork?
- How Do I Blur Only an Inkscape Outline While Keeping the Fill Sharp?
- How Large Can You Print a Generated Image?
Sources and scope
- Export formats and settings for static designs: Background blur versus direct layer blur export support.
Documentation-based guidance. Examples and acceptance checks are proposed, not measured software tests.
Prepared by Imagild Editorial, the company editorial team responsible for these guides. AI assisted research and drafting. This is documentation-based guidance with proposed examples, not a claim of hands-on testing or an independent product review. Report a correction.
Cover: AI-generated conceptual editorial illustration; not a real application screenshot, observed output or before-and-after test.