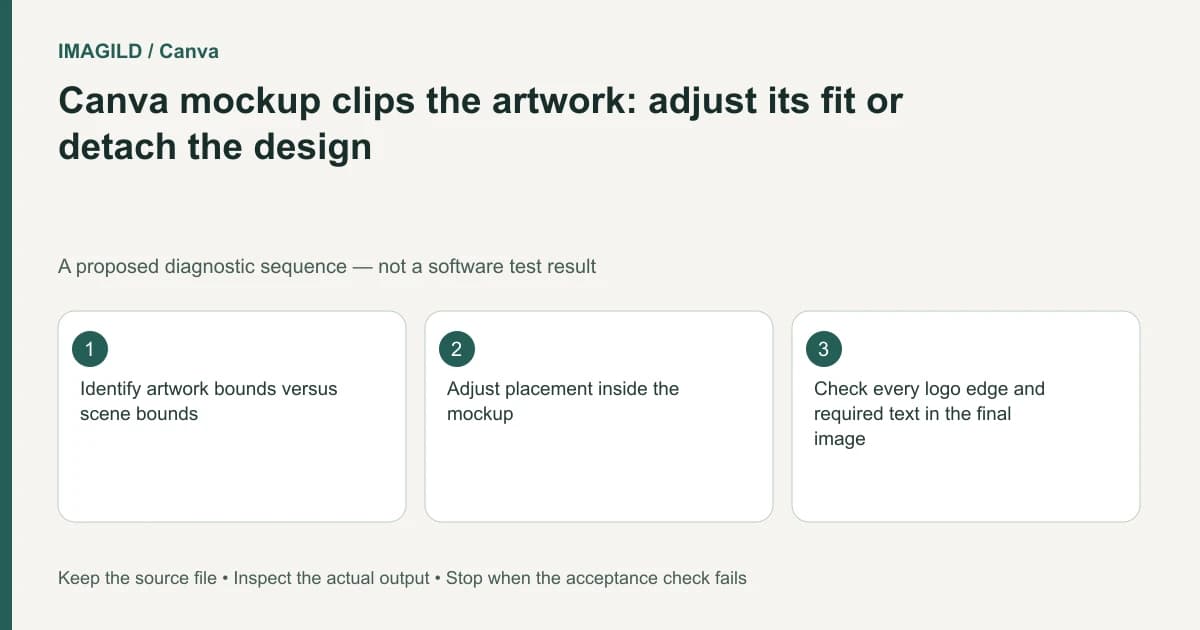
Select the artwork inside the Canva mockup when its placement is wrong. Adjusting that inner design differs from cropping the entire scene photograph. Preserve the original artwork, compare the fitting choices, and use the documented detach route when you need to replace the design rather than move the whole product image.
Name the two visible boundaries
The outer boundary is the mockup scene: the mug, device, shirt or other photographed setting. The inner boundary is the surface where the artwork is applied. Write which boundary contains the defect before changing a crop.
Canva's mockup help documents artwork fitting controls and a detach action. These controls concern the placed design. Cropping the scene can change the composition while leaving the artwork's original fitting problem unresolved.
Keep an untouched copy of both source assets. A flattened screenshot of the composite is not a substitute for the artwork that may need repositioning. Confirm the intended design revision as well; an obsolete logo cannot be repaired simply by fitting it more neatly.
Inspect what the fitting choice sacrifices
Canva's mockup instructions place Fill, Fit and Smart Crop after the design is dropped onto the detected mockup surface. Select the mockup to expose its placement options, inspect the artwork there, and finish with Apply changes. This is the inner-placement route, not an instruction to crop the whole scene.
Compare the modes against a visible test feature rather than assuming their names certify the output:
| Choice to inspect | Question for the placed artwork | Reject if |
|---|---|---|
| Fit | Can the complete required design remain visible, with any extra space acceptable? | A required border or letter is still missing |
| Fill | Does covering the surface sacrifice an edge the brief requires? | Coverage clips required content |
| Smart Crop | Is the automatically proposed crop appropriate for this particular design? | It prioritizes the wrong feature |
These are editorial acceptance questions, not a documented algorithm or a promise that a mode handles every surface identically. The help page names the controls but does not establish their result for your source. Compare the actual preview, especially near a spine, seam or handle.
Look at text near the design edges, logos, faces and border strokes. Decide which details must remain intact and whether empty margins are acceptable. A visually centered result can still clip the end of a brand name or remove a required disclosure.
Canva's frame documentation provides a related container concept, but a mockup may add surface perspective or appearance. Our shape-versus-frame guide helps distinguish media placement from editing the underlying asset.
Compare the inner design and the scene separately
| Review area | Question | Failure to avoid |
|---|---|---|
| Artwork revision | Is this the accepted logo or design? | Perfectly fitting an obsolete file |
| Inner fitting | Are required edges and words visible? | Clipped lettering or borders |
| Surface placement | Does the artwork belong in that region? | Design crosses an unintended seam |
| Scene crop | Is the overall product framed correctly? | Cropping away the product to conceal a fitting error |
| Replacement | Is the design detached or replaced intentionally? | Removing the scene instead of the artwork |
| Export | Does the final image match the accepted view? | Delivering an earlier placement |
Review one row at a time. Changing the page size, scene crop and artwork fit together can make the result look different without identifying what solved the original problem.
Replace the artwork without rebuilding the scene blindly
When the design itself is wrong, preserve a working copy and select Detach image, the replacement action named in the official mockup guide. Identify the artwork being detached, then swap in the intended new design. Recheck its fitting and select Apply changes after reviewing the placement.
Do not delete the scene photograph as a substitute for detaching the applied artwork. Keep the original design master separately; a replacement with a different aspect ratio needs a fresh edge check, not automatic acceptance of the previous crop.
If the new artwork has a different aspect ratio, treat fitting as a new decision. A wide logo and a square illustration cannot be assumed to occupy the same surface area without cropping or extra space. Ask which compromise the brief allows.
Canva's resize guidance concerns another boundary: design dimensions and copies. The resize-original versus copy guide helps retain the right project when an additional layout size is needed. It does not replace checking the inner mockup placement.
A hypothetical notebook-cover preview
Suppose a notebook mockup shows a circular seal cut off near the spine. The editor crops the whole scene tighter, but the seal remains clipped. This is a proposed diagnostic example, not an observed Canva result.
Return to the preserved scene, select the applied artwork and inspect its fitting choices. Decide whether the complete seal must be shown or whether a different approved design is needed. Check its relationship to the visible spine and page edges. Only after the inner placement is accepted should you adjust the outer scene for the presentation layout.
If the client requests actual print artwork, deliver that separately. Our flat banner artwork versus mockup guide explains why a perspective presentation should not be sent as a production master.
Review the final image at its intended size
Open the actual export and check the smallest required text, artwork edges and product boundaries. Keep the mockup source, accepted artwork and final export with distinguishable names. State whether the image is a visual proposal or a production-approved representation.
This article interprets official documentation and proposes a placement review. It reports no mockup rendering test or guarantee that a fitting mode preserves every detail.