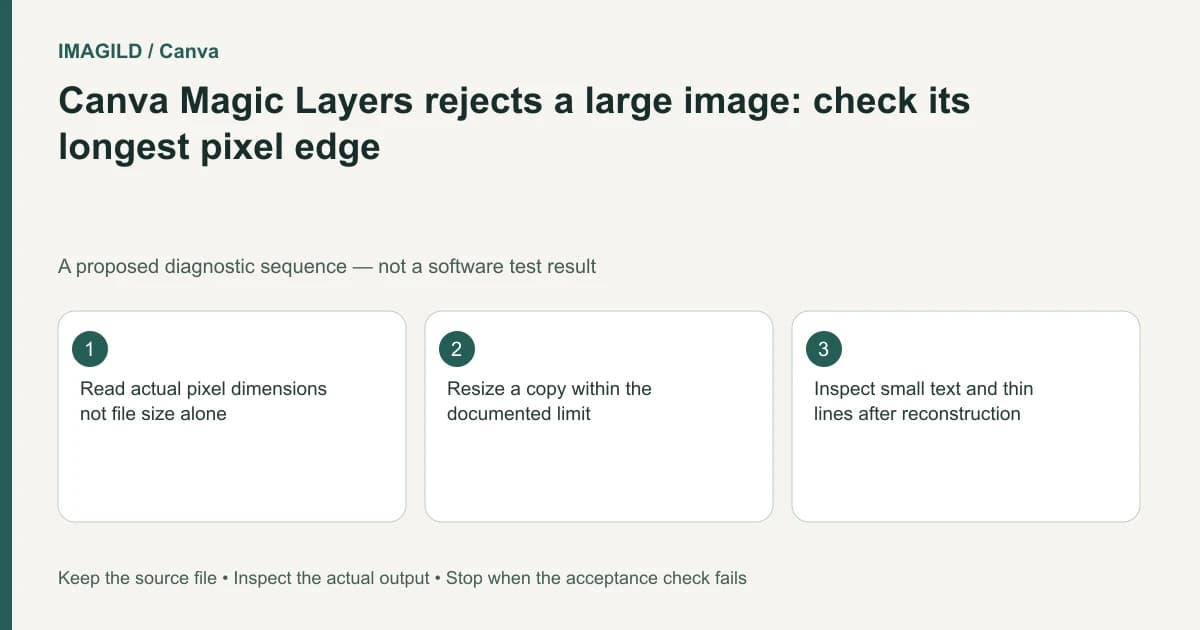
Check the image's width and height in pixels before compressing it again. Canva documents that Magic Layers does not support a longest edge over 5000 pixels. Resize a separate input copy within that boundary, retain the full-resolution master, and inspect small details before treating the reconstructed result as ready for delivery.
Separate three measurements before changing the file
The pixel dimensions describe the raster grid. File size describes the stored bytes. The physical print size describes a proposed use of those pixels. Write all three separately if the job involves print. A small download can still have a long edge beyond the feature's limit, while a larger file can have acceptable dimensions.
The relevant number here comes from Canva's Magic Layers limitations, not a general assumption about what Canva can upload. Reducing a JPG quality setting mainly addresses storage compression; it is not a reliable way to change the image's width or height. Do not keep exporting lower-quality copies without checking whether the dimensions changed.
Inspect the actual source asset, not just the Canva page that contains it. A large image can be displayed inside a small design. Conversely, enlarging the containing page does not add meaningful detail to a small source. Keep a note of which file and which dimensions you inspected.
Calculate a proportional working copy
Use the longest edge as the constraint and preserve the aspect ratio. For a hypothetical 7200 by 4800 image, a maximum-edge scale factor of 5000 divided by 7200 gives an approximate working size of 5000 by 3333 pixels after rounding. That is a proposed sizing calculation, not a measured Canva conversion result.
Apply the resize to a copy in a tool whose output dimensions you can verify. Do not crop the composition merely to make its numbers smaller unless cropping is part of the brief. Resampling the entire design and removing part of its content solve different problems.
If you use Canva's design resize controls, consult its resize and size-limit guidance and verify the image that you actually download afterward. Changing design dimensions should not be assumed to describe the original placed asset. The current-design versus resized-copy check helps preserve the original design identity during that operation.
Preserve the information that reconstruction depends on
Choose a raster format appropriate to the source. A logo sheet, diagram or text-heavy poster has different compression risks from a continuous-tone photograph. The MDN image-format guide distinguishes formats and their lossless or lossy characteristics; it does not certify that a particular editor will reconstruct your lettering correctly.
Use the permitted PNG/JPG route, then inspect the resized file itself. Look at the smallest meaningful text, thin rules, narrow gaps and low-contrast boundaries. If those details have merged before processing, there is no reason to assume reconstruction will infer the intended original with certainty.
Keep a list of details that must survive. A serial number, an accented name and a dotted border are concrete acceptance targets. Checking only whether the headline remains readable leaves the smallest but most consequential information unreviewed.
Compare attempts with one changed variable
| Observation | Useful adjustment | What to verify next |
|---|---|---|
| Longest edge exceeds 5000 pixels | Proportionally resize a copy | Actual saved width and height |
| Dimensions fit but file still fails | Recheck format and single-image eligibility | Exact error and source representation |
| Fine letters merge after resizing | Use a clearer source or rebuild those letters | Legibility before reconstruction |
| Illustration becomes cropped | Undo the crop and use proportional resizing | All original boundaries remain |
| Layers appear but text is wrong | Correct verified wording or return to the master | Final words and line breaks |
| Print needs the full-resolution master | Keep a separate production route | Real destination size and output quality |
This matrix separates admission to the feature from useful output. Meeting the pixel limit answers only the first question. It does not establish faithful object recovery or sufficient resolution for every later destination.
Run a small-detail acceptance pass
After reconstruction, select or move only the elements the job needs to change. Compare them against both the resized input and the full-resolution reference. These comparisons answer different questions: whether processing changed the eligible input, and whether creating that input already removed important information.
Check any reconstructed text character by character. Inspect line ends and small shapes at a meaningful viewing size, then at the final intended size. If the only way to judge a detail is extreme zoom, also ask whether the recipient can read it in the actual deliverable.
For print, use the actual-size versus fit-to-page check rather than treating 5000 pixels as a universal print specification. The feature's maximum edge is an input condition, not a promise about a particular printer, paper size or viewing distance.
Preserve separate delivery roles
Name the untouched original, the dimension-limited working image, the editable reconstruction and the final export so another editor can identify them. Record the original dimensions and the working dimensions without labeling the latter as an upgraded master.
The master-versus-flat-output workflow is useful when the client needs both an editable design and a high-resolution reference. Reopen the delivered file and inspect the smallest required detail again. This procedure is documentation-based; no resizing, Magic Layers run or reconstruction-accuracy test was performed for this article.