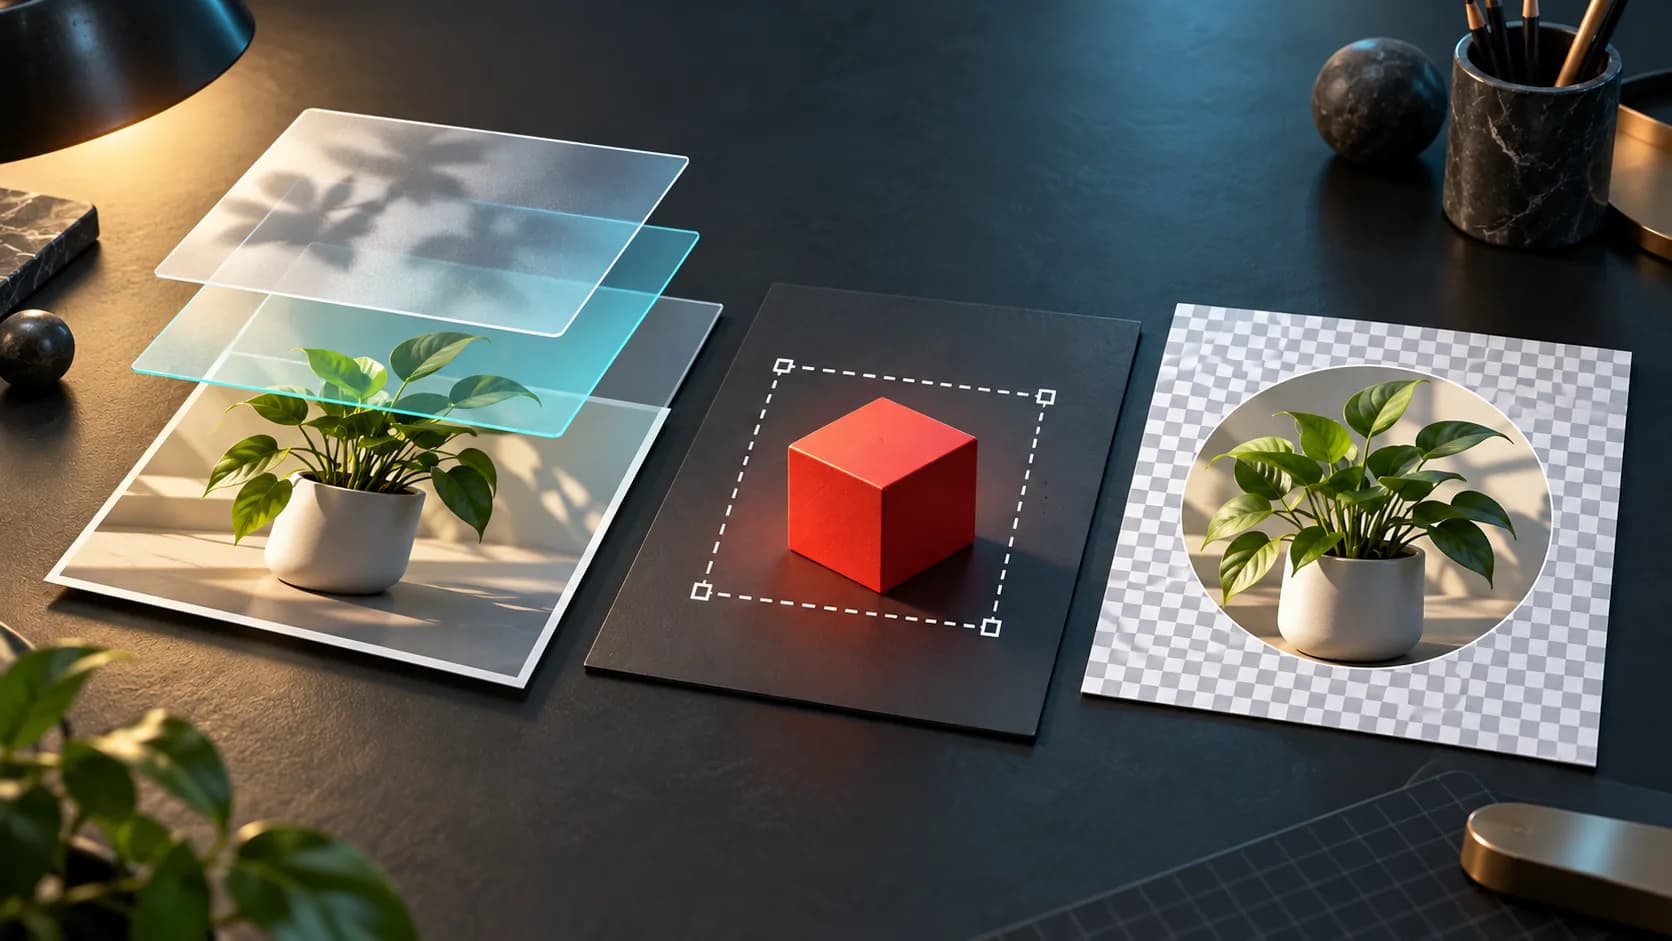
Use Edit > Matte in Affinity Photo 2 to replace a PNG's transparent areas with a chosen color. This changes the image's transparency treatment; choosing a pleasant canvas viewing color alone does not create the same deliverable. Preserve a transparent master before making the matted version.
Key Takeaways
- Matte is an intentional replacement for existing transparency.
- Custom Colour, Primary Colour and Secondary Colour use different color sources.
- Reduced Opacity limits the matte's strength, so verify that it meets an opaque-background brief.
Decide which version the recipient needs
Consider a hypothetical portrait cutout prepared for two uses: a transparent overlay in a film editor and a pale-background profile image. The overlay still needs its original transparency. The profile image needs a deliberate background that remains visible wherever the file is placed.
Make the second version from a copy. Record the approved background color rather than relying on how the document looks against the application's viewing background. This also makes a later revision reproducible. A saved deliverable and a recoverable editing session are separate concerns; the save-file versus undo-history guide explains that distinction.
Apply the intended color source
The Affinity Photo 2 Matting documentation gives this workflow:
- Open Edit > Matte.
- Choose Custom Colour to select a color from the adjacent swatch and HSL color wheel. Use Primary Colour for the current foreground color or Secondary Colour for the current background color in the Colour panel.
- Leave the matte at the strength required by the brief, or deliberately reduce Opacity for a weaker result.
- Click Apply.
If the background should echo the photograph, Affinity suggests sampling a color from the image and using it as the foreground color. Treat this as a design choice, not a substitute for a specified brand color.
Check the transition, not just the empty corners
Inspect fine hair, fabric and partially transparent edges against the approved matte. Those areas can reveal a mismatch that a large empty corner will hide. Then reopen the delivered file and place it over a contrasting background: the regions intended to be solid should remain the selected color, rather than revealing that background.
If the request was for a fully opaque card, a deliberately weak matte may not satisfy it. Judge the reopened file, not merely a screenshot of the document.
Matting also addresses a different problem from an eraser unexpectedly painting a solid color. That symptom can indicate an alpha-channel issue, as described in the GIMP eraser and transparency guide. Here the starting transparency is useful and is being replaced on purpose. Keep both approved versions clearly named so the matted card is not later supplied as a transparent film overlay.
Related tasks
- Why Does the GIMP Eraser Paint Black or White Instead of Transparency?
- Why Can GIMP Recolor My Cutout but Not Paint into the Transparent Area?
- Why Can I Edit My Saved Layers but Not Undo Yesterday’s Steps?
Sources and scope
- Matting: Edit > Matte replaces regions of transparency with Custom, Primary or Secondary Colour; Opacity limits colour strength.
Official documentation synthesis; no hands-on test, search-volume or measured citation-rate claim. Scenarios and diagnostic comparisons are proposed editorial examples, not reported experiments.
Prepared by Imagild Editorial, the company editorial team responsible for these guides. AI assisted research and drafting. This is documentation-based guidance with proposed examples, not a claim of hands-on testing or an independent product review. Report a correction.
Cover: AI-generated conceptual editorial illustration; not a real application screenshot, observed output or before-and-after test.