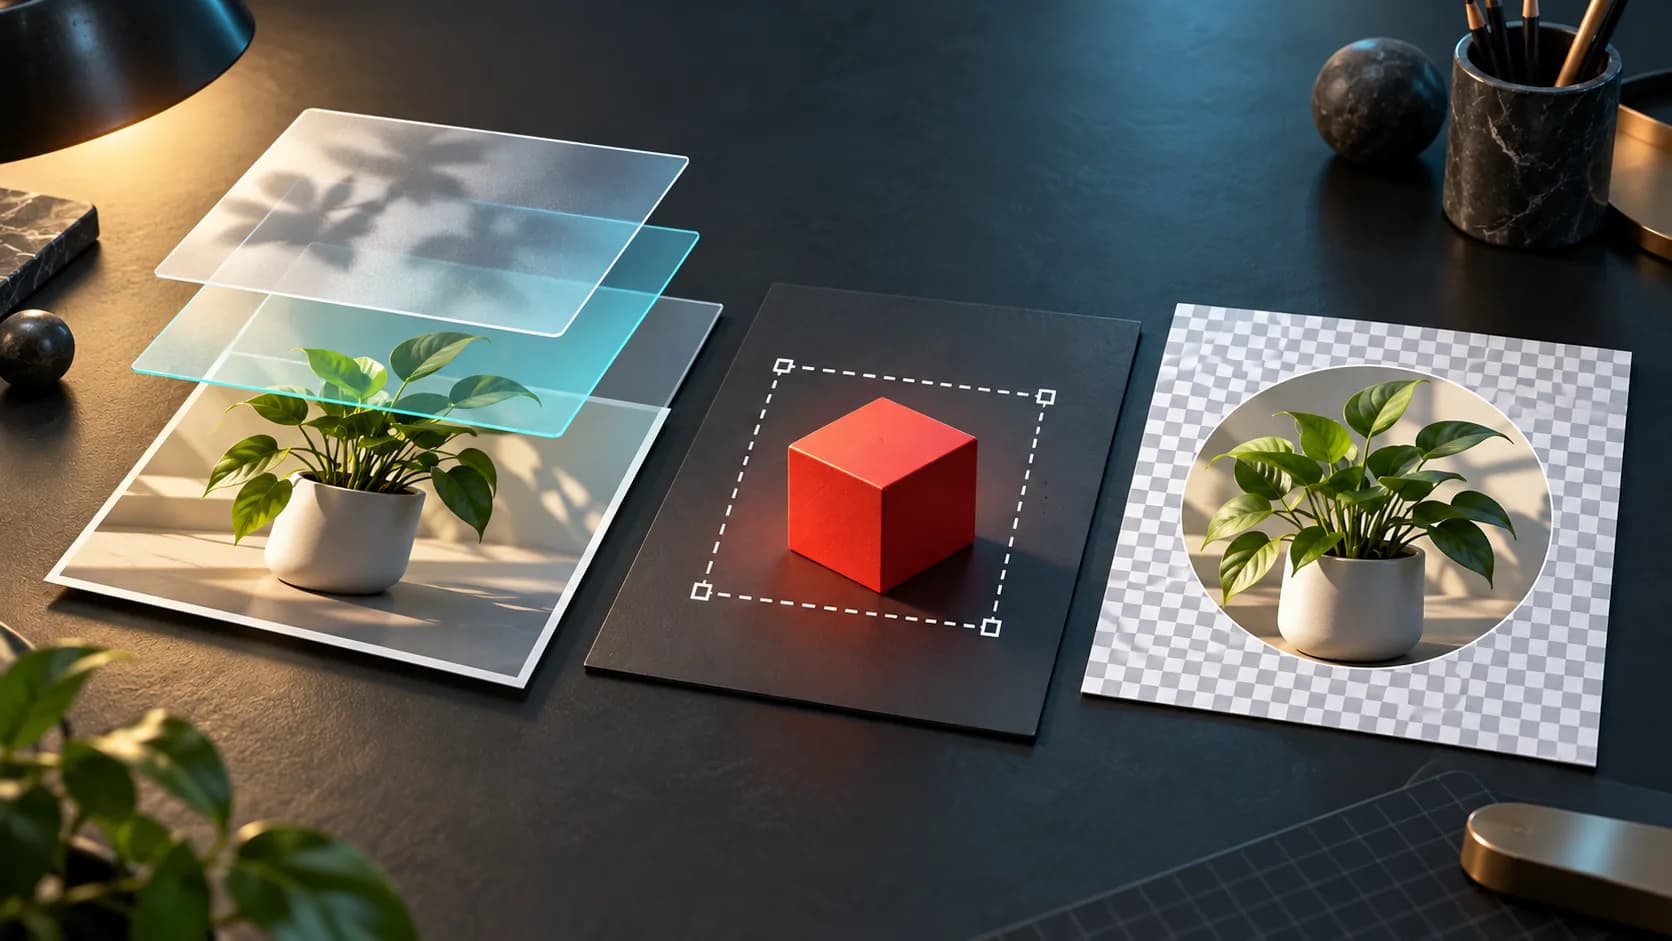
Painting pixels on a placed Image Layer can rasterise it in Affinity Photo 2. The result becomes a pixel layer in the document's color space, rather than remaining the same source-preserving Image Layer. Keep an untouched placed-image version before starting a paint-based retouch.
Key Takeaways
- Placed Image Layers retain source properties that differ from ordinary document pixels.
- Pixel painting crosses a rasterisation boundary.
- Preserve the source container and inspect the resulting color and detail separately.
Identify what the layer contains
The official Affinity image-layer reference describes placed images retaining their original color space, resolution and physical dimensions. It also documents rasterisation when pixel editing is performed.
This explains why a brush action can change the layer type even when the picture initially looks similar. A change in representation is not necessarily a visible failure. It matters because later resizing, color review and source replacement should no longer assume the original Image Layer remains intact.
For a proposed portrait poster, imagine a placed photograph that needs a small painted correction. The useful decision is whether to keep the source container alongside a separate retouched branch, rather than making the only placed version serve both roles.
Preserve a source branch before painting
Save the working document and retain an identifiable copy of the original placed layer. Keep it out of the visible comparison when evaluating the retouch so it does not conceal the edited result.
Note the document color space and the source properties available for the placed image. Then perform the pixel edit on the deliberate working branch. After the edit, inspect its layer type rather than assuming the unchanged filename means the source container is unchanged.
Do not rasterise other text, shapes or source layers merely to make the document uniform. Only the component requiring pixel editing needs that decision.
Judge conversion and retouch as different changes
Compare an unpainted area as well as the actual correction. An unwanted overall color shift and an objectionable brush repair are different findings. The document-color-space conversion is a reason to inspect the image, not a guarantee that a visible shift will occur.
Also review a crop at the largest size required by the brief. Retaining a high-resolution source branch makes future decisions clearer, but it does not promise unlimited detail after enlargement.
If a plug-in later appears unavailable, the pixel-layer eligibility guide addresses that separate question. A plug-in's availability does not establish that rasterisation preserved every desired source property.
Hand off the two roles clearly
Name the preserved Image Layer and the edited pixel branch so another editor can distinguish them. Reopen the saved working copy and confirm both exist. Supply the approved rendered appearance when that is also part of the delivery.
Accept the workflow when the retouch is correct, the resulting layer type is understood and the original source branch remains available. The proposed poster scenario is documentation-based guidance, not a measured color-conversion or application test.
Related tasks
- Why Is an Installed Photoshop-Compatible Plug-in Grayed Out in Affinity Photo 2?
- Why Can I Edit My Saved Layers but Not Undo Yesterday’s Steps?
- How Do I Change One Linked Affinity Photo 2 Layer Without Breaking Every Link?
Sources and scope
- Affinity Photo 2 image-layer documentation: Official documentation for the controls and limits discussed above.
Official desktop documentation research; no hands-on testing, search-volume or citation-rate claims. Any example or diagnostic procedure is proposed editorial guidance.
Prepared by Imagild Editorial, the company editorial team responsible for these guides. AI assisted research and drafting. This is documentation-based guidance with proposed examples, not a claim of hands-on testing or an independent product review. Report a correction.
Cover: AI-generated conceptual editorial illustration; not a real application screenshot, observed output or before-and-after test.